Stand Alone Documents Add-On
WP E-Signature offers two document types: the basic document and the stand alone document.
This article covers the stand alone document and how to use it for electronic document signing automation.
If you’re on version 1.9.4.1 or earlier, we recommend updating to the latest version. If updating isn’t possible right now, you can find alternative instructions at the bottom section of this page.
What is a stand alone document?
A stand alone document is typically used for general documents like waivers, non-disclosure agreements, or registration forms. It is hosted on a page of your WordPress site, where visitors can sign it without any action required from you at the time of signing.
- A stand alone document can collect data using signer input fields, or work with integrations like Gravity Forms, Ninja Forms, and WooCommerce. See all integrations here.
- Each signer sees a blank copy of the document and provides one signature per copy.
- You can add a fixed signer using the Approval Signer or Auto-Added Signature features. To collect multiple signatures from different parties, use a basic document instead.
How to create a stand alone document
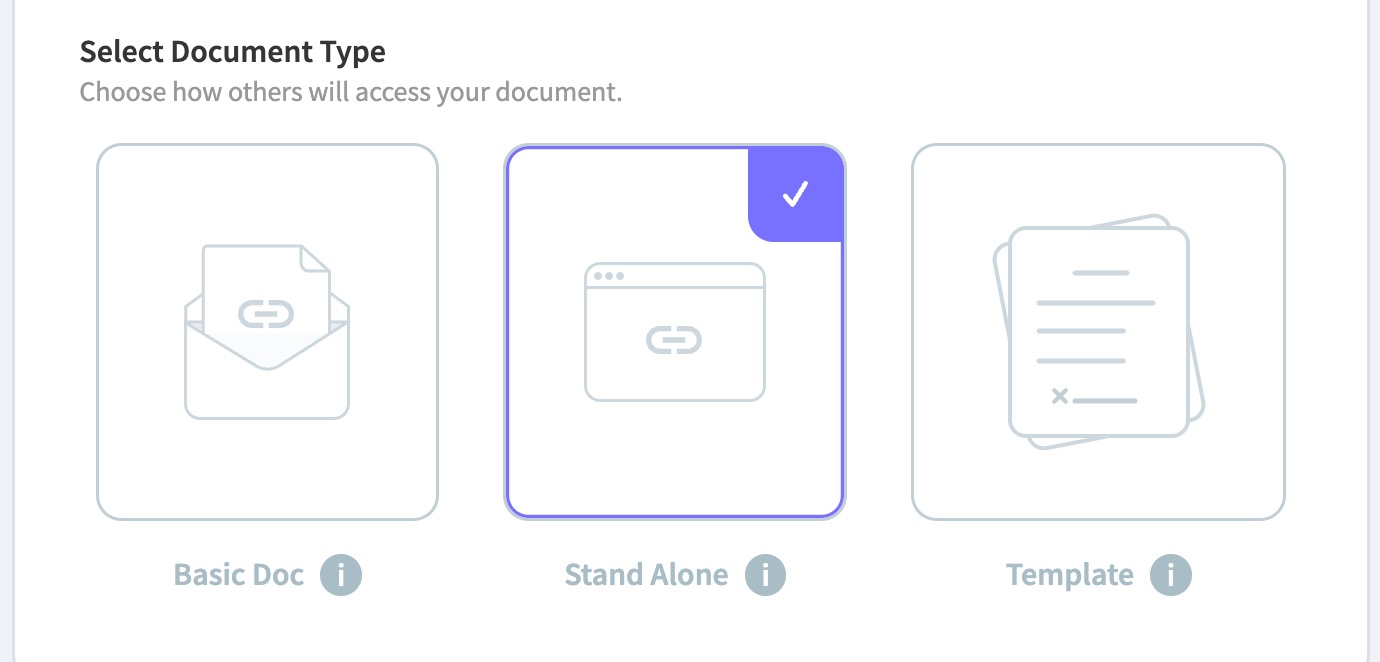
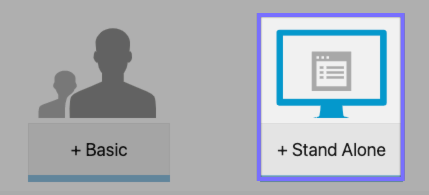
- Visit E-Signature > Add New Document, add a Document Title, and select Stand Alone Document.
- Add your content.
- If you want to collect data from your signer directly on your document, use our Signer Input Fields tool by clicking the Add Fields button and adding your desired fields.
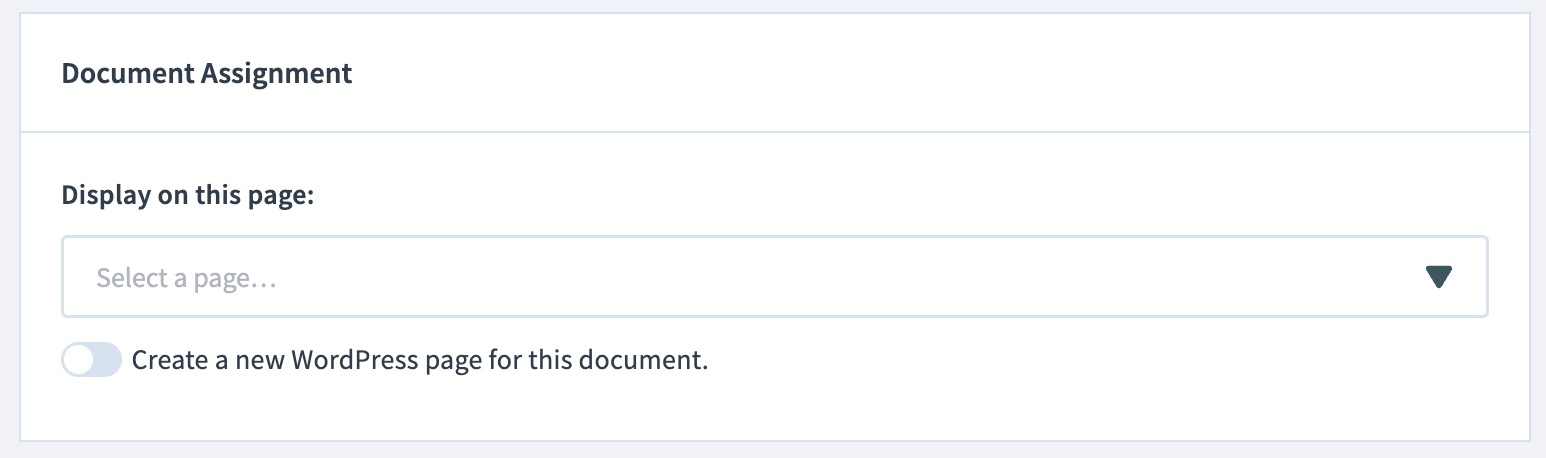
4. Next, assign your document to a page by selecting "Create a new WordPress page for this document" or display it on a page you have already created.
If you choose an existing page, it must be empty. A document shortcode will be generated and placed on the page, and in view mode, the document overrides any other page content. You can see the shortcode when editing the page.
- Configure your document settings as desired.
Once your document options are to your liking, publish the document, and get ready to collect electronic signatures!
How to have your stand alone document signed
There are several ways to invite signers to sign your stand alone document.
- Publicly accessible page. Make the WP page publicly accessible using a link or button. For example, a gym might have a "Sign Our Waiver" button on their homepage.
- Manually share the URL. Share the URL of the page hosting the document directly with your signer. For example, email them something like "Visit this link to sign my Non-Disclosure Agreement: https://www.secure.approveme.com/demo/non-disclosure-agreement/"
- Use the Share/Invite button. In the stand alone document folder, hover over the document's name, and select Share/Invite. From there, you can copy the document's URL or enter a signer's name and email to send a formal signing invitation. For example, a construction company could use this to send a Sales Contract to a client.
Not sure if the stand alone document is the right fit for your workflow?
Check out the difference between the basic document, stand alone document, and a document template here.
If you’re on version 1.9.4.1 or earlier, we recommend updating to the latest version. If updating isn’t possible right now, follow the steps below. 👇
What is a stand alone document?
A stand alone document is typically used for general documents like waivers, non-disclosure agreements, or registration forms. It is hosted on a page of your WordPress site, where visitors can sign it without any action required from you at the time of signing.
- A stand alone document can collect data using signer input fields, or work with integrations like Gravity Forms, Ninja Forms, and WooCommerce. See all integrations here.
- Each signer sees a blank copy of the document and provides one signature per copy.
- You can add a fixed signer using the Approval Signer or Auto-Added Signature features. To collect multiple signatures from different parties, use a basic document instead.
How to create a stand alone document
- Visit E-Signature > Add New Document, and select Stand Alone Document.
- Add a title and content.
- To collect data from your signer directly on your document, use our Signer Input Fields tool by clicking the pencil icon and adding your desired fields.

4. Configure your document options as desired and assign your document to the page by selecting "Create a new WordPress page for this document" or display it on a page you have already created.

If you choose an existing page, it must be empty. A document shortcode will be generated and placed on the page, and in view mode, the document overrides any other page content. You can see the shortcode when editing the page.

5. Once your document options are to your liking, publish the document, and get ready to collect electronic signatures!
How to have your stand alone document signed
There are several ways to invite signers to sign your stand alone document.
- Publicly accessible page. Make the WP page publicly accessible using a link or button. For example, a gym might have a "Sign Our Waiver" button on their homepage.
- Manually share the URL. Share the URL of the page hosting the document directly with your signer. For example, email them something like "Visit this link to sign my Non-Disclosure Agreement: https://www.secure.approveme.com/demo/non-disclosure-agreement/"
- Use the Share/Invite button. In the stand alone document folder, hover over the document's name, and select Share/Invite. From there, you can copy the document's URL or enter a signer's name and email to send a formal signing invitation. For example, a construction company could use this to send a Sales Contract to a client.
Not sure if the stand alone document is the right fit for your workflow?
Check out the difference between the basic document, stand alone document, and a document template here.