How to Set Up Contact Form 7 and WP E-Signature

In this article, you'll learn how to automatically collect digital signatures on contracts after a Contact Form 7 submission using WP E-Signature.
A WP E-Signature Elite or Lifetime license is required to integrate with Contact Form 7 and collect legally binding, UETA/ESIGN compliant signatures.
If you're using version 1.9.4.1 or earlier, the screenshots in this article are not exact for you, but the steps are the same. We'd recommend updating to version 2.0 to get the best out of WP E-Signature. 👏
Step 1. Download and install required plugins
Before you can collect legally binding signatures with WP E-Signature and Contact Form 7, make sure the following plugins are installed and activated:
- WP E-Signature + WP E-Signature Business add-ons plugin (both come with the Elite or Lifetime license)
- Contact Form 7
- Contact Form 7 E-Signature integration (Visit E-Signature > Add-ons > Integrations)
Step 2. Create a stand alone document
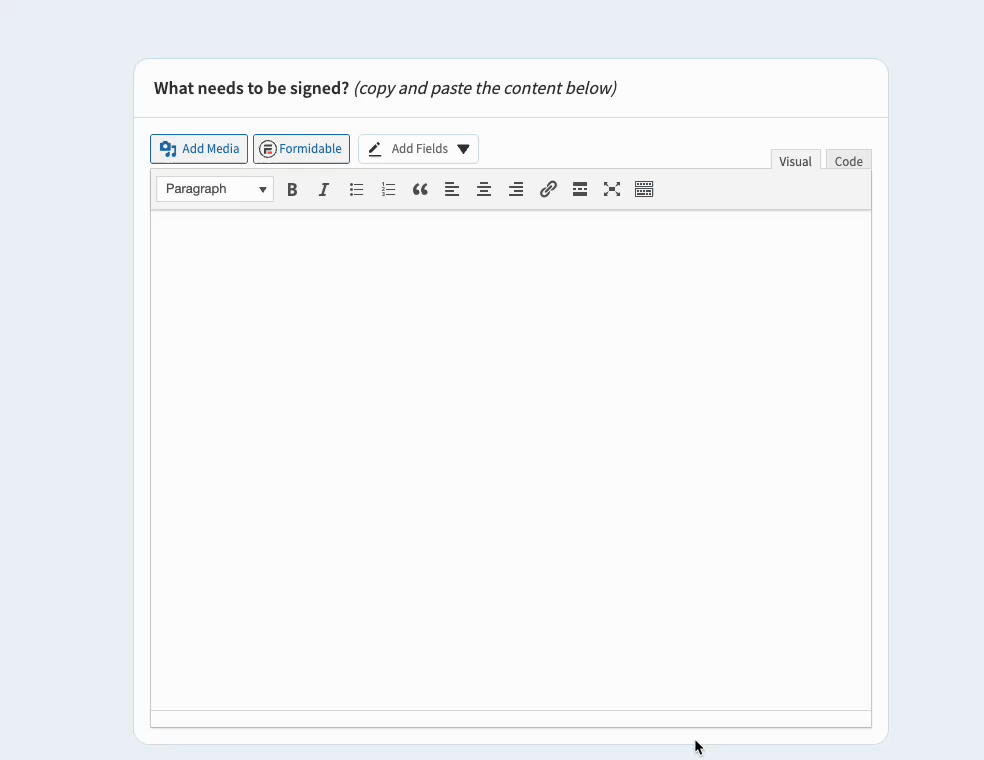
Hover over E-Signature > Add New Document, enter a document name, select Stand Alone, then click Next. Type or paste in your document text.
Step 3. Insert Contact Form 7 data into the document
In this step, you can add fields that pull submitted form data into your document. If you don't need form data in your document, skip to step 4.
To add Contact Form 7 data, click Add Fields and select Contact Form 7 Data. From the dropdown, choose your Contact Form 7 > Next Step, select your form field (or insert all fields), and then click Add to Document.
A shortcode will be generated as a placeholder for each field, and the actual values will display once the form is submitted. The field will look like this in your document: [esigcf7 Formsid=”3″ field_id=”your-name”]
You can move these shortcodes anywhere in your contract to display the submitted data wherever the shortcode is placed.
Step 4. Assign your document page and choose your settings
The only required option is assigning the stand alone document to a page. You can either select an existing page from the Display on this page dropdown (if you already created a blank page), or create a new WP page for the document.

Add any document options you need, such as activating signing reminders or adding a custom message to the confirmation email.
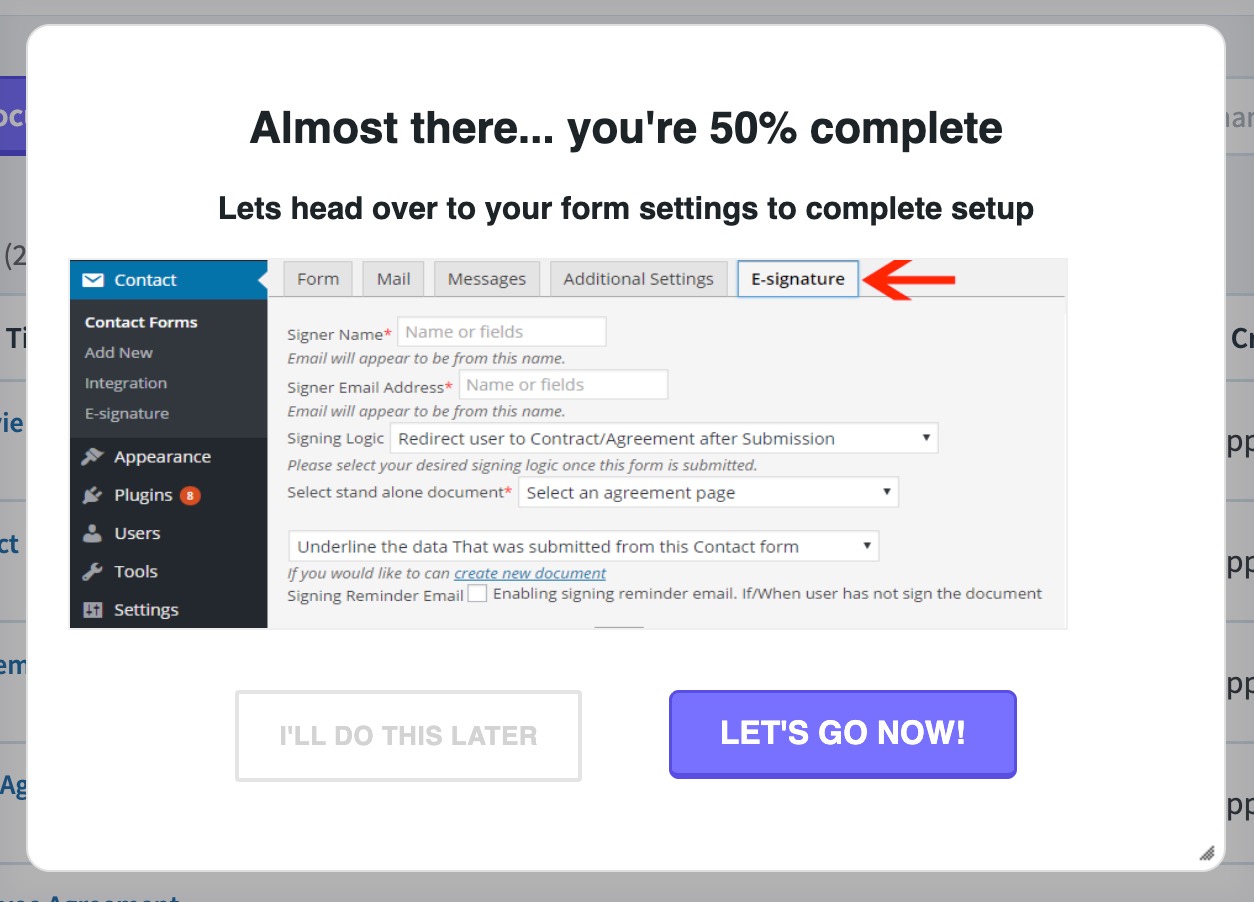
Step 5. Finish configuring the E-Signature workflow 7 settings
If you clicked Let's Go Now, you're already on the correct page. If not, go to Contact Form 7, find your form > Edit > Settings > E-Signature.
The formatting of these field inputs should be plain text, with no asterisks or brackets (see screenshot below). If the formatting of these inputs is incorrect, your document will not trigger.

Step 6. Submit your form and sign a test document
Place your Contact Form 7 form on a WordPress page or open it in preview mode, fill it in as a signer would, and submit to trigger and sign a test document.
Try our WP E-Signature + Contact Form 7 demo here.
Still have questions? Connect with a support hero.