How to Set Up WooCommerce and WP E-Signature
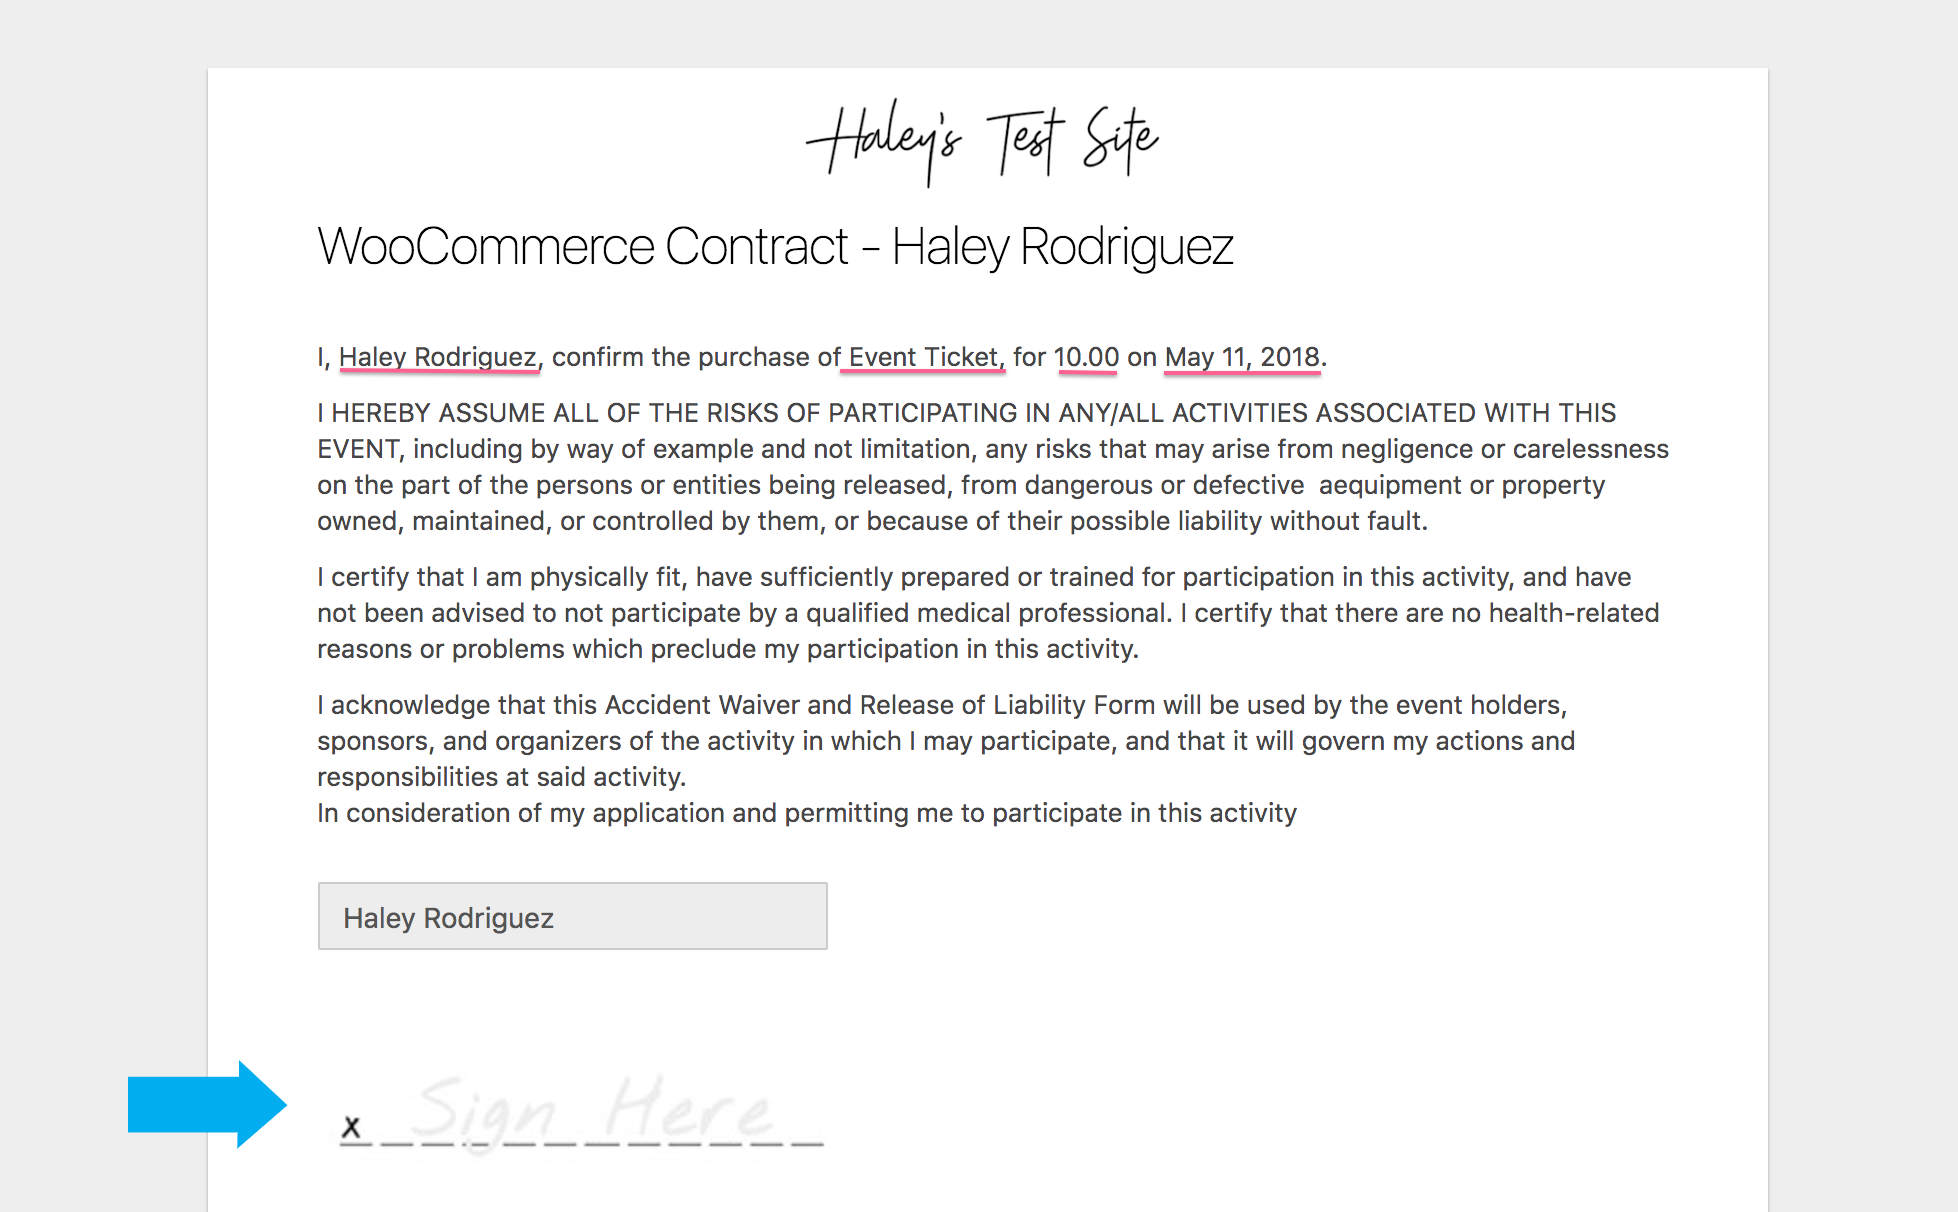
This add-on transforms your WooCommerce store into a court-recognized document signing application! With WP E-Signature and our Signature add-on for WooCommerce, you’ll be able to automatically gather signatures on your terms of service agreements, new client contracts, waiver forms, and more.
The WP E-Signature Elite or Lifetime license is required to set up workflows with integrations like WooCommerce.
Once your E-Signature plugins are installed and activated, enable the WooCommerce add-on by visiting E-Signature > Add-ons > Integrations tab, find WooCommerce Digital Signature > Install > Activate.

1. To create a document that you want to trigger in the checkout process, visit E-Signature > Add New Document > stand alone document.
2. Add your document content, configure your document options, and assign your document to a WordPress Page. See our stand alone document guide here.
3. Review the steps below to use your document as a Global Agreement that triggers once per transaction, regardless of what is purchased, or a Product Agreement that will trigger when a specific product is purchased.
Product Agreement
If you set your document as a Product agreement, you will assign it to a specific WooCommerce product so that any time that the product is purchased, the customer will be required to sign this document.
To set up a Product agreement, visit your WordPress backend > Products, find your desired product > Edit, look for the E-Signature option on the bottom right, enable the agreement, choose your signing logic, select your document, and save.

Global Agreement
If you set your document as a Global agreement, the same document will trigger once per checkout, no matter what products are purchased.
To set up a Global Agreement, visit your WordPress backend > WooCommerce > Settings > Advanced tab, find E-Signature option at the bottom of the page, enable the agreement, choose your signing logic, select your document, and save.

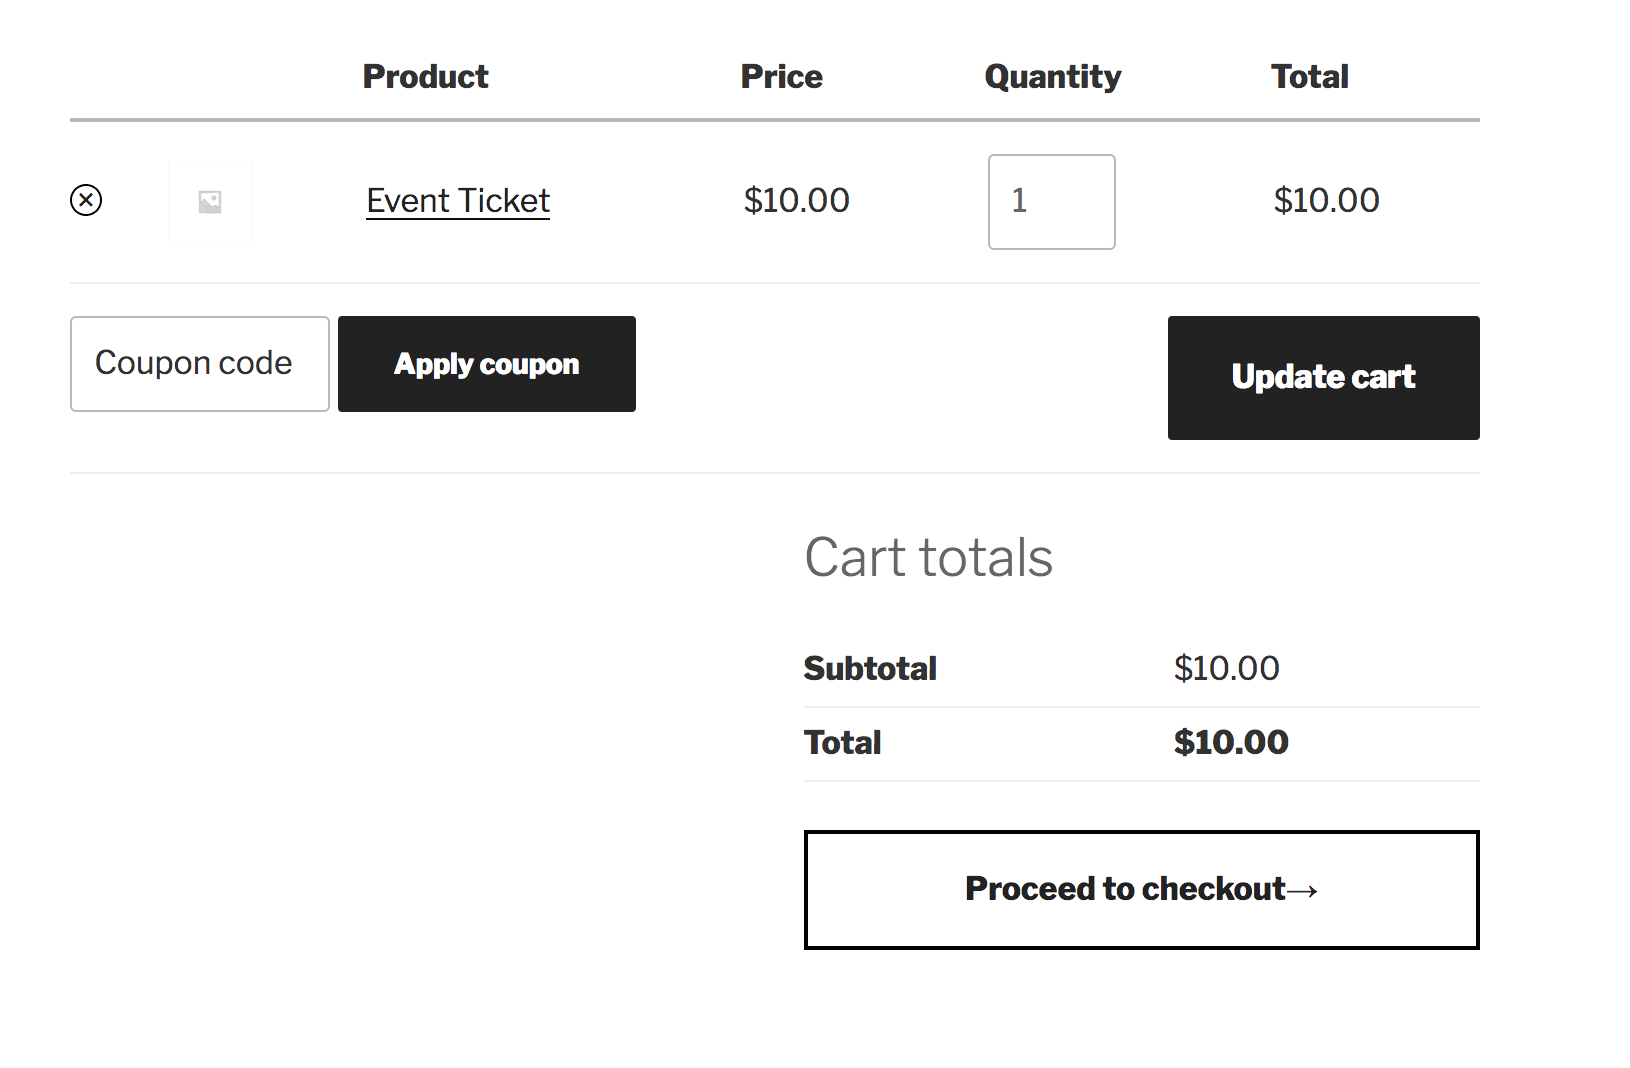
Once you have successfully completed these steps, visit your store and test, completing the same steps that a customer would complete to see your E-Signature workflow in action.


Additional Information
If you want to populate details from the checkout process into the document, set your document up with redirect to sign after checkout signing logic and check out this article to add WooCommerce shortcodes.
You can also download this add-on directly from the WP repository here.