
WordPress User Registration After Signing Add-On
Our powerful WordPress User Registration After Signing add-on makes registering users as easy as 1-2-3!
Your signers can be automatically registered as WP users on your site by simply adding their signature to your contract or legal agreement.
If you’re on version 1.9.4.1 or earlier, we recommend updating to the latest version. If updating isn’t possible right now, you can find alternative instructions at the bottom section of this page.
How to set up WP User Registration After Signing
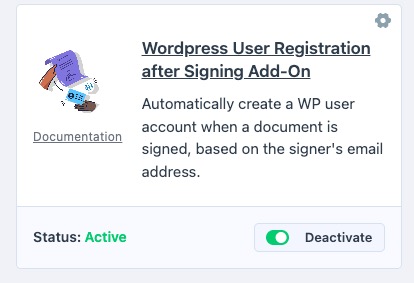
1. Visit your WordPress backend > E-Signature > Add-ons > find WordPress User Registration add-on > Activate.
- Edit your document, visit the Settings tab, toggle on “Auto-register signer as a WordPress User” , and choose your desired WP role.
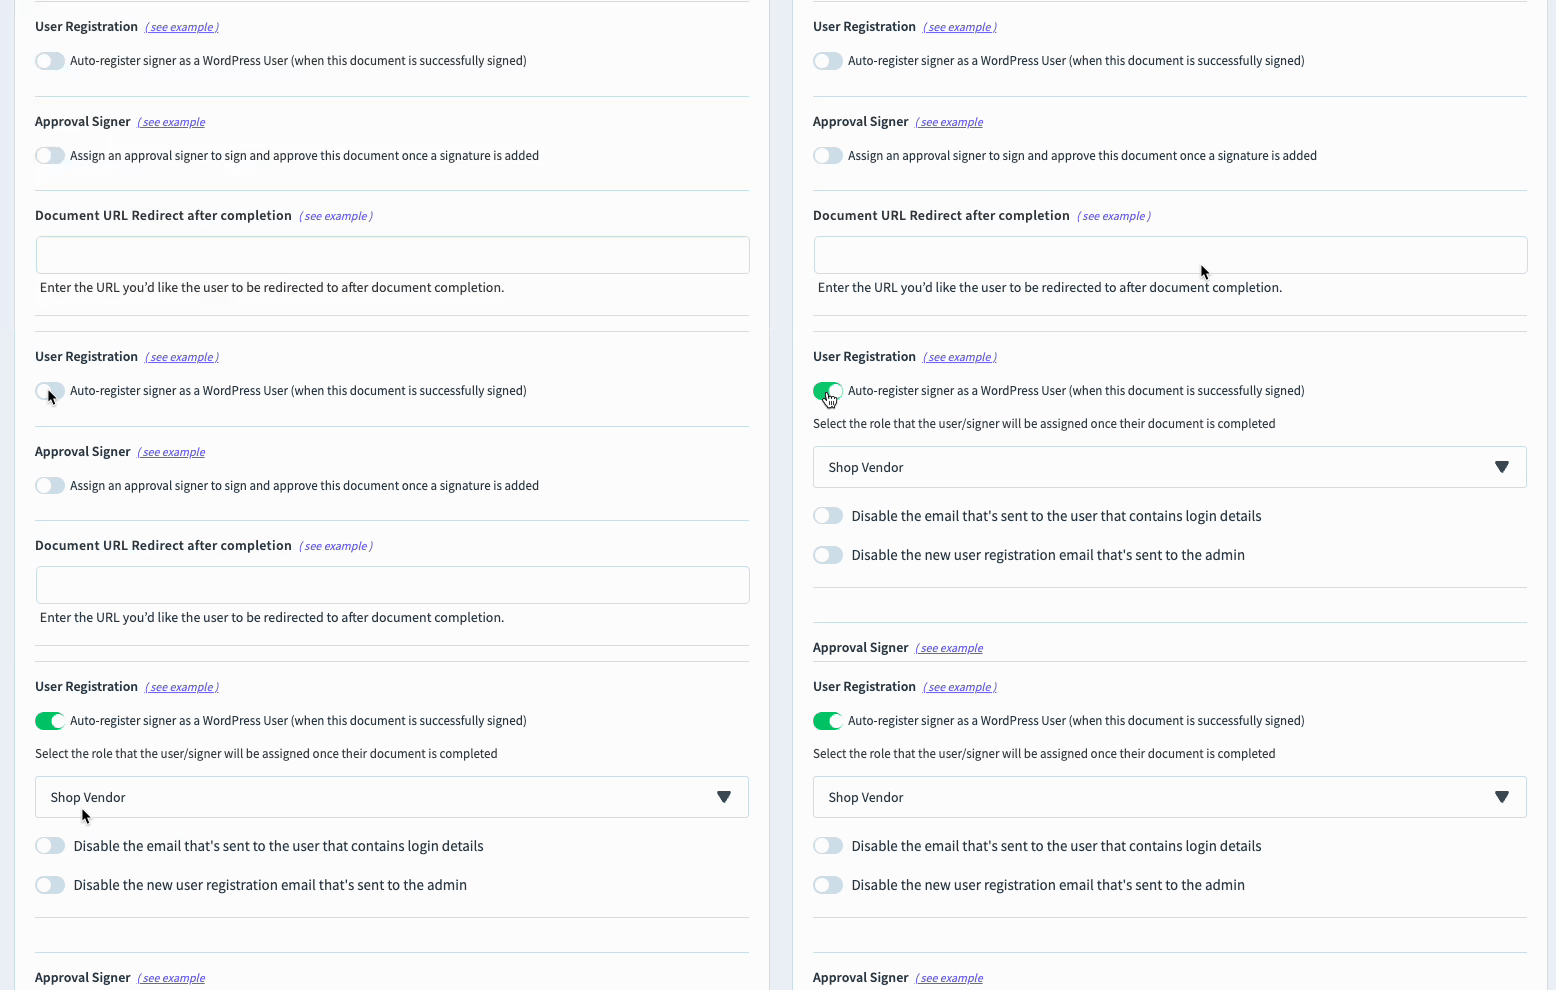
After the document is signed, the signer is automatically registered as a WP user and an email is sent to the signer with their login credentials.
To choose the URL the signer is redirected to after signing, use our URL Redirect After Signing add-on.
Action Types
To edit your User Registration settings, visit your WP Backend > E-Signature > Settings > User Management.
Using the "Create" option will register each signer as a new WordPress user on your site using the name and email they provide.
Using the "Update" option will change an existing WP user's role after signing. To change a WP user's role, they must sign the document using the same email address they have registered in their WP user profile.
You can use the "Update" action to choose between changing the existing WP role of the signer (Replace Existing Role) or adding a second WP role to their profile (Add Additional Role).
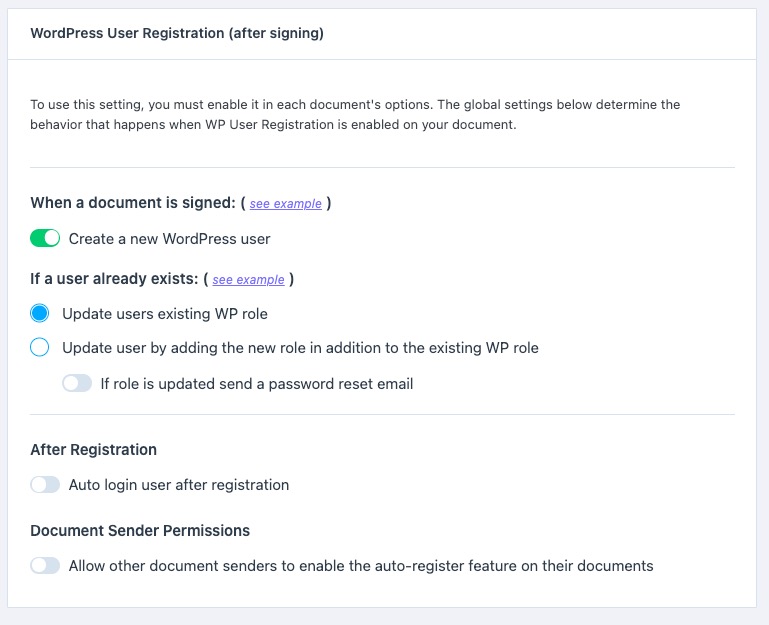
You can also allow other WP users to enable the WP Registration option, disable the force-log-in feature, and customize the Registration Welcome email.
If you’re on version 1.9.4.1 or earlier, we recommend updating to the latest version. If updating isn’t possible right now, follow the steps below. 👇
How to set up WP User Registration After Signing
- Visit E-Signature > Add-ons, find WordPress User Registration and enable it.

- Edit your document, scroll to the Document Options, select “Auto-register signer as a WordPress User”, and choose your desired WP role.

After the document is signed, the signer is automatically registered as a WordPress user and emailed their login credentials.
To choose the URL the signer is redirected to after signing, use our URL Redirect After Signing add-on.
Action Types
Using the "Create" option will register each signer as a new WP user on your site using the name and email they provide.
Using the "Update" option will change an existing WP user's role after signing. To change a WP user's role, they must sign the document using the same email address they have registered in their WP user profile.
You can also use the Role Action dropdown with the "Update" action to choose between changing the existing WP role of the signer (Replace Existing Role) or adding a second WP role to their profile (Add Additional Role).

Additional Settings
You can visit E-Signature > Customization > While Label Option to view the additional WP Registration settings.
You can allow other WP users to enable the WP Registration option, disable the force-log-in feature, and customize the Registration Welcome email.
