How to Insert Easy Digital Downloads Data into a Contract Workflow
Follow these steps to set up your E-Signature + Easy Digital Downloads workflow:
If you’re using version 2.0, follow the instructions at the top of this page. 🥳
If you’re on version 1.9.4.1 or earlier, we recommend updating to the latest version. If updating isn’t possible right now, you can find alternative instructions at the bottom section of this page.
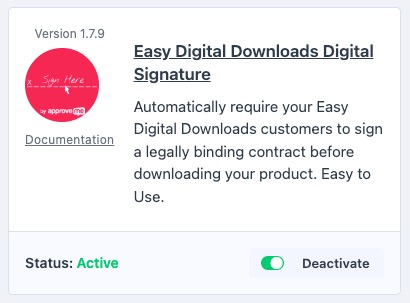
Step 1. Activate required plugins
- Install and activate Easy Digital Downloads
- Visit E-Signature > Add-ons > Integrations, find Easy Digital Downloads > Install > Activate.
Step 2. Insert desired fields
- Edit your stand alone document
- Select the signer input field icon (pencil icon) at the top right of the toolbar, and select Insert EDD Details
- Select your desired EDD shortcode.
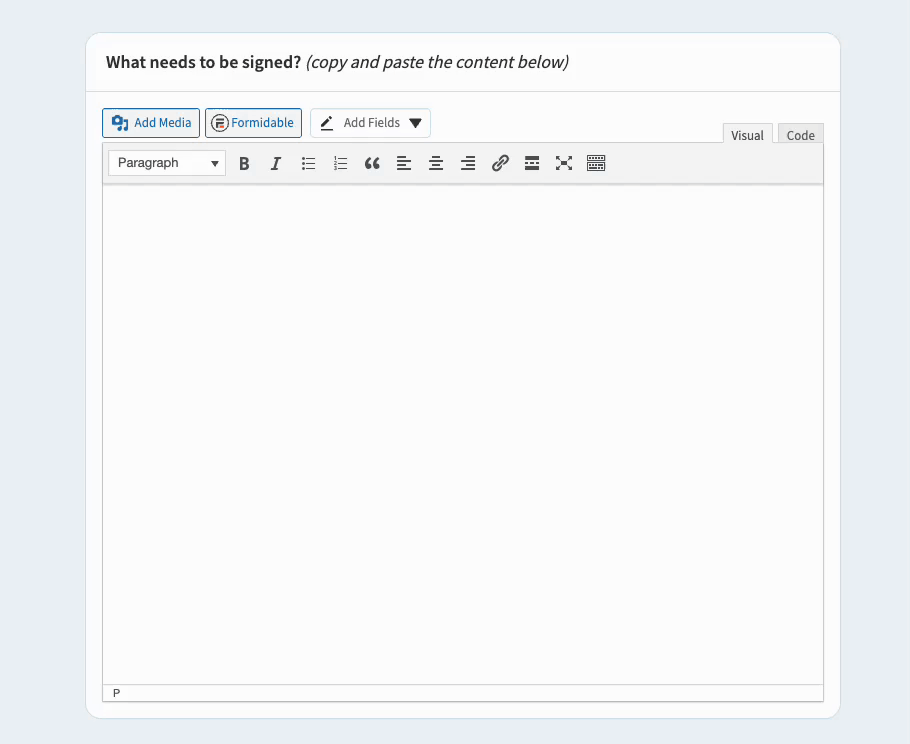
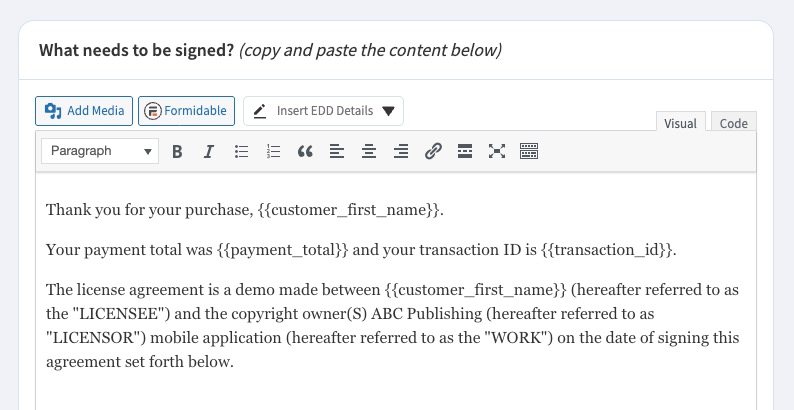
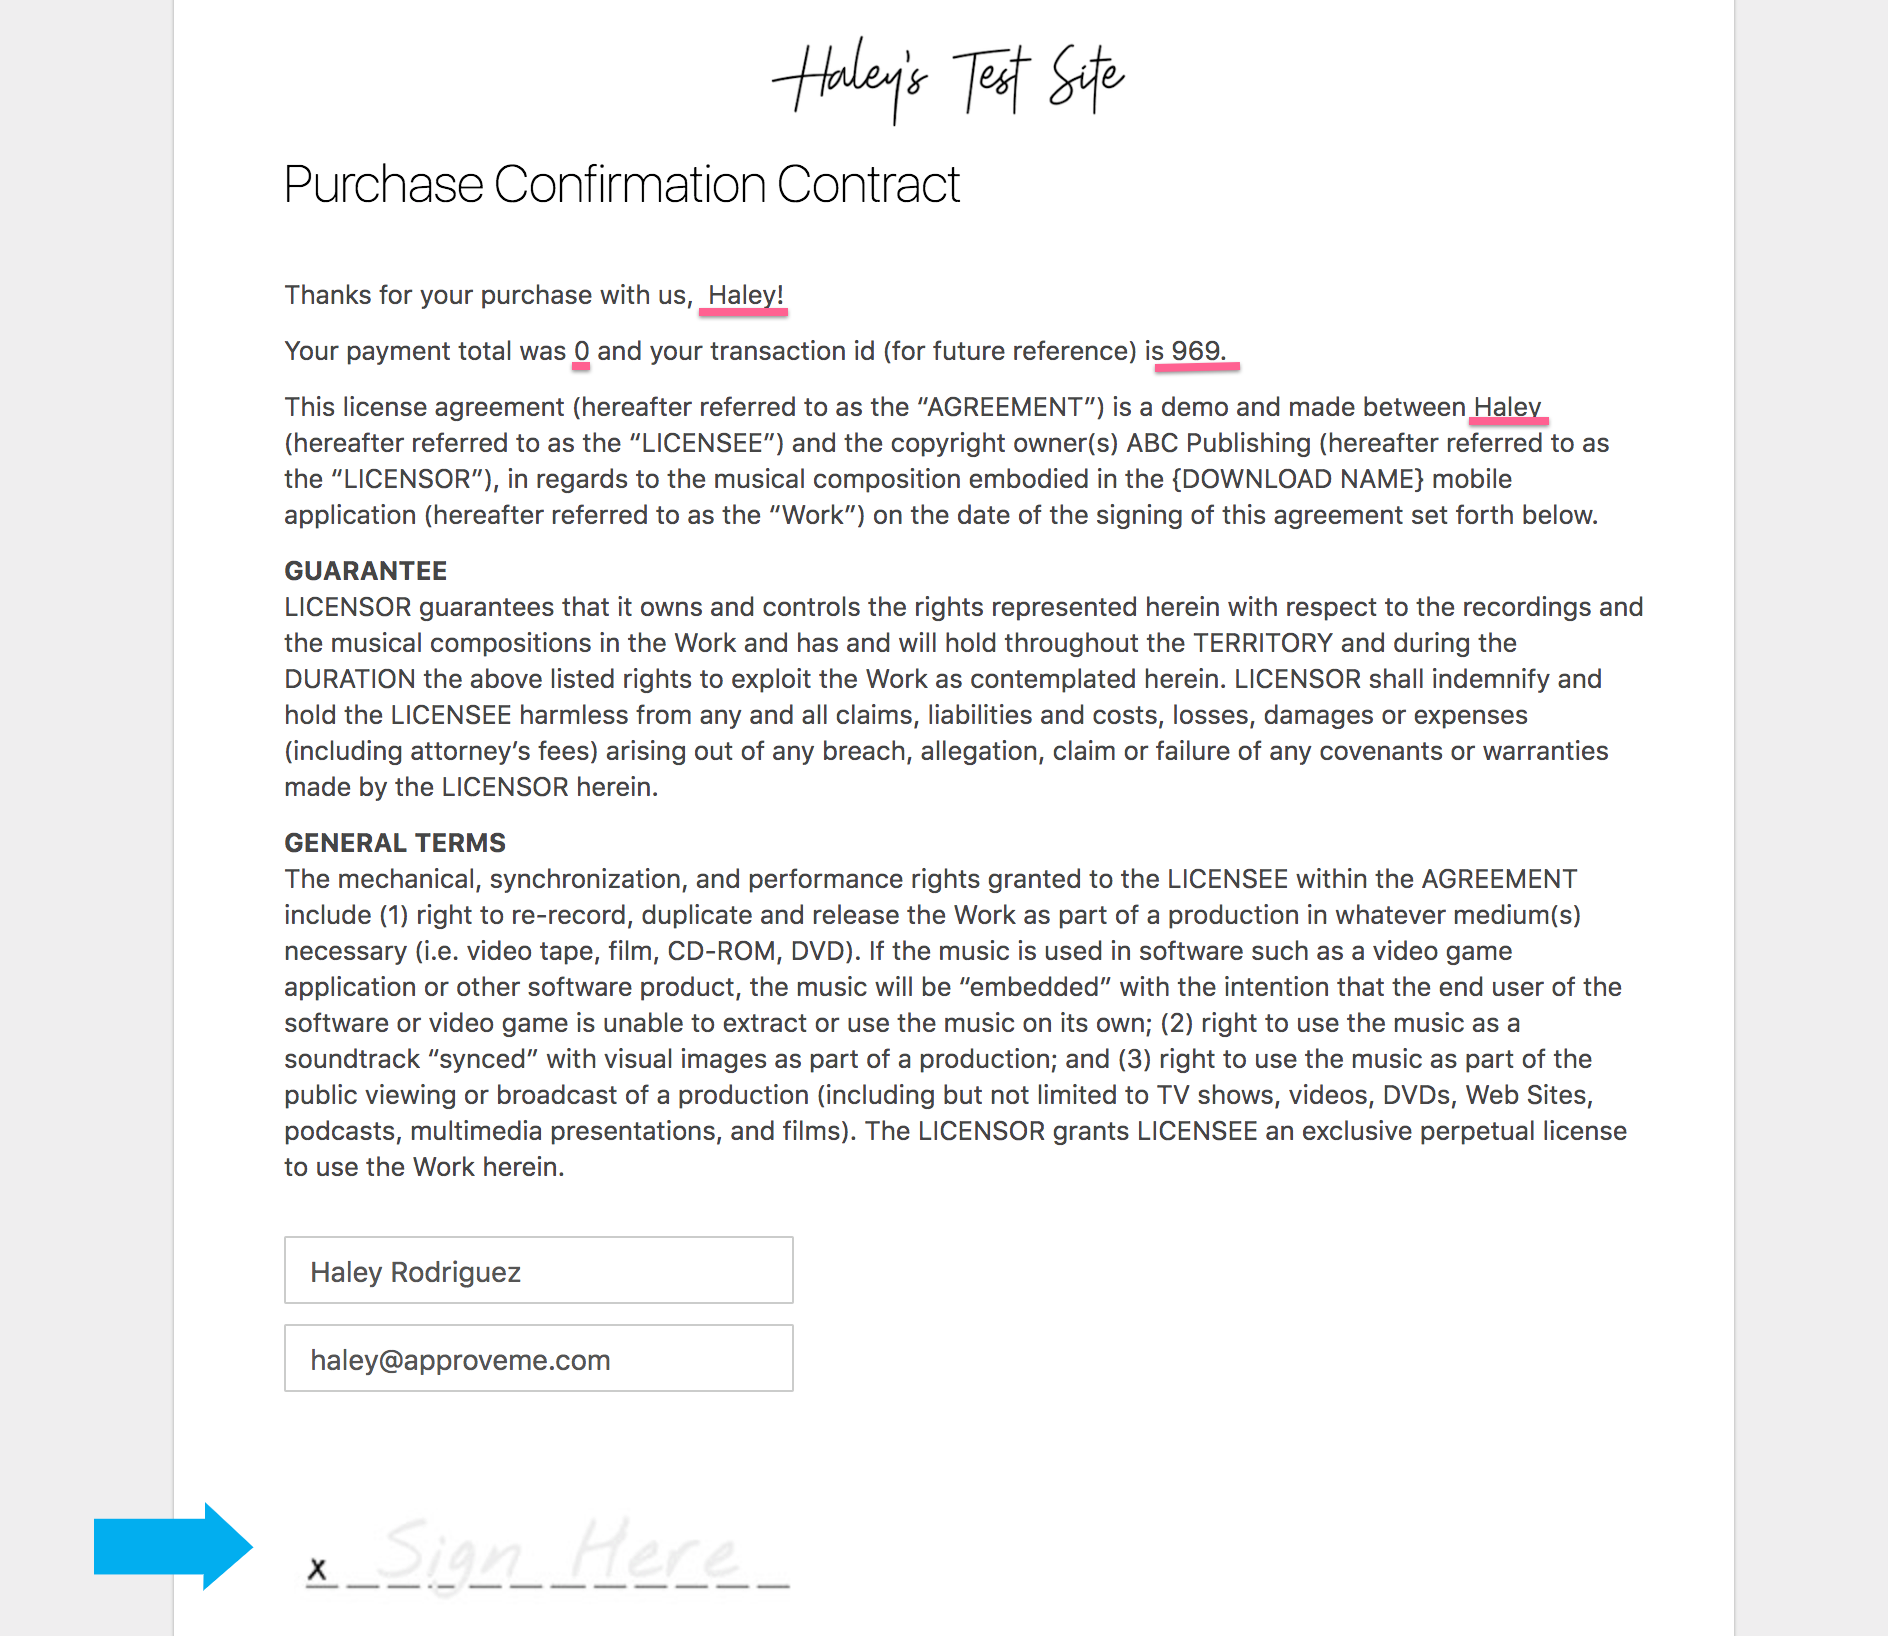
Shortcodes will not render when viewing the document in editing mode. They populate with EDD checkout information when the signer reaches the document.
Step 3. Choose a Global or Product Agreement to trigger the document
Product Agreement
A Product Agreement is assigned to a specific product. Whenever that product is purchased, the customer is required to sign the document.
To set up a Product Agreement:
- Visit Easy Digital Downloads and find your desired download.
- Select Edit, locate E-Signature option on the bottom right.
- Choose your signing logic, select your document, and save your settings.

Global Agreement
A Global Agreement triggers once per checkout, regardless of which products are purchased.
To set up a Global Agreement:
- Visit EDD > Settings > Misc > E-Signature options.
- Choose your signing logic, select your document, and save your settings.

Step 4. Save your settings and test
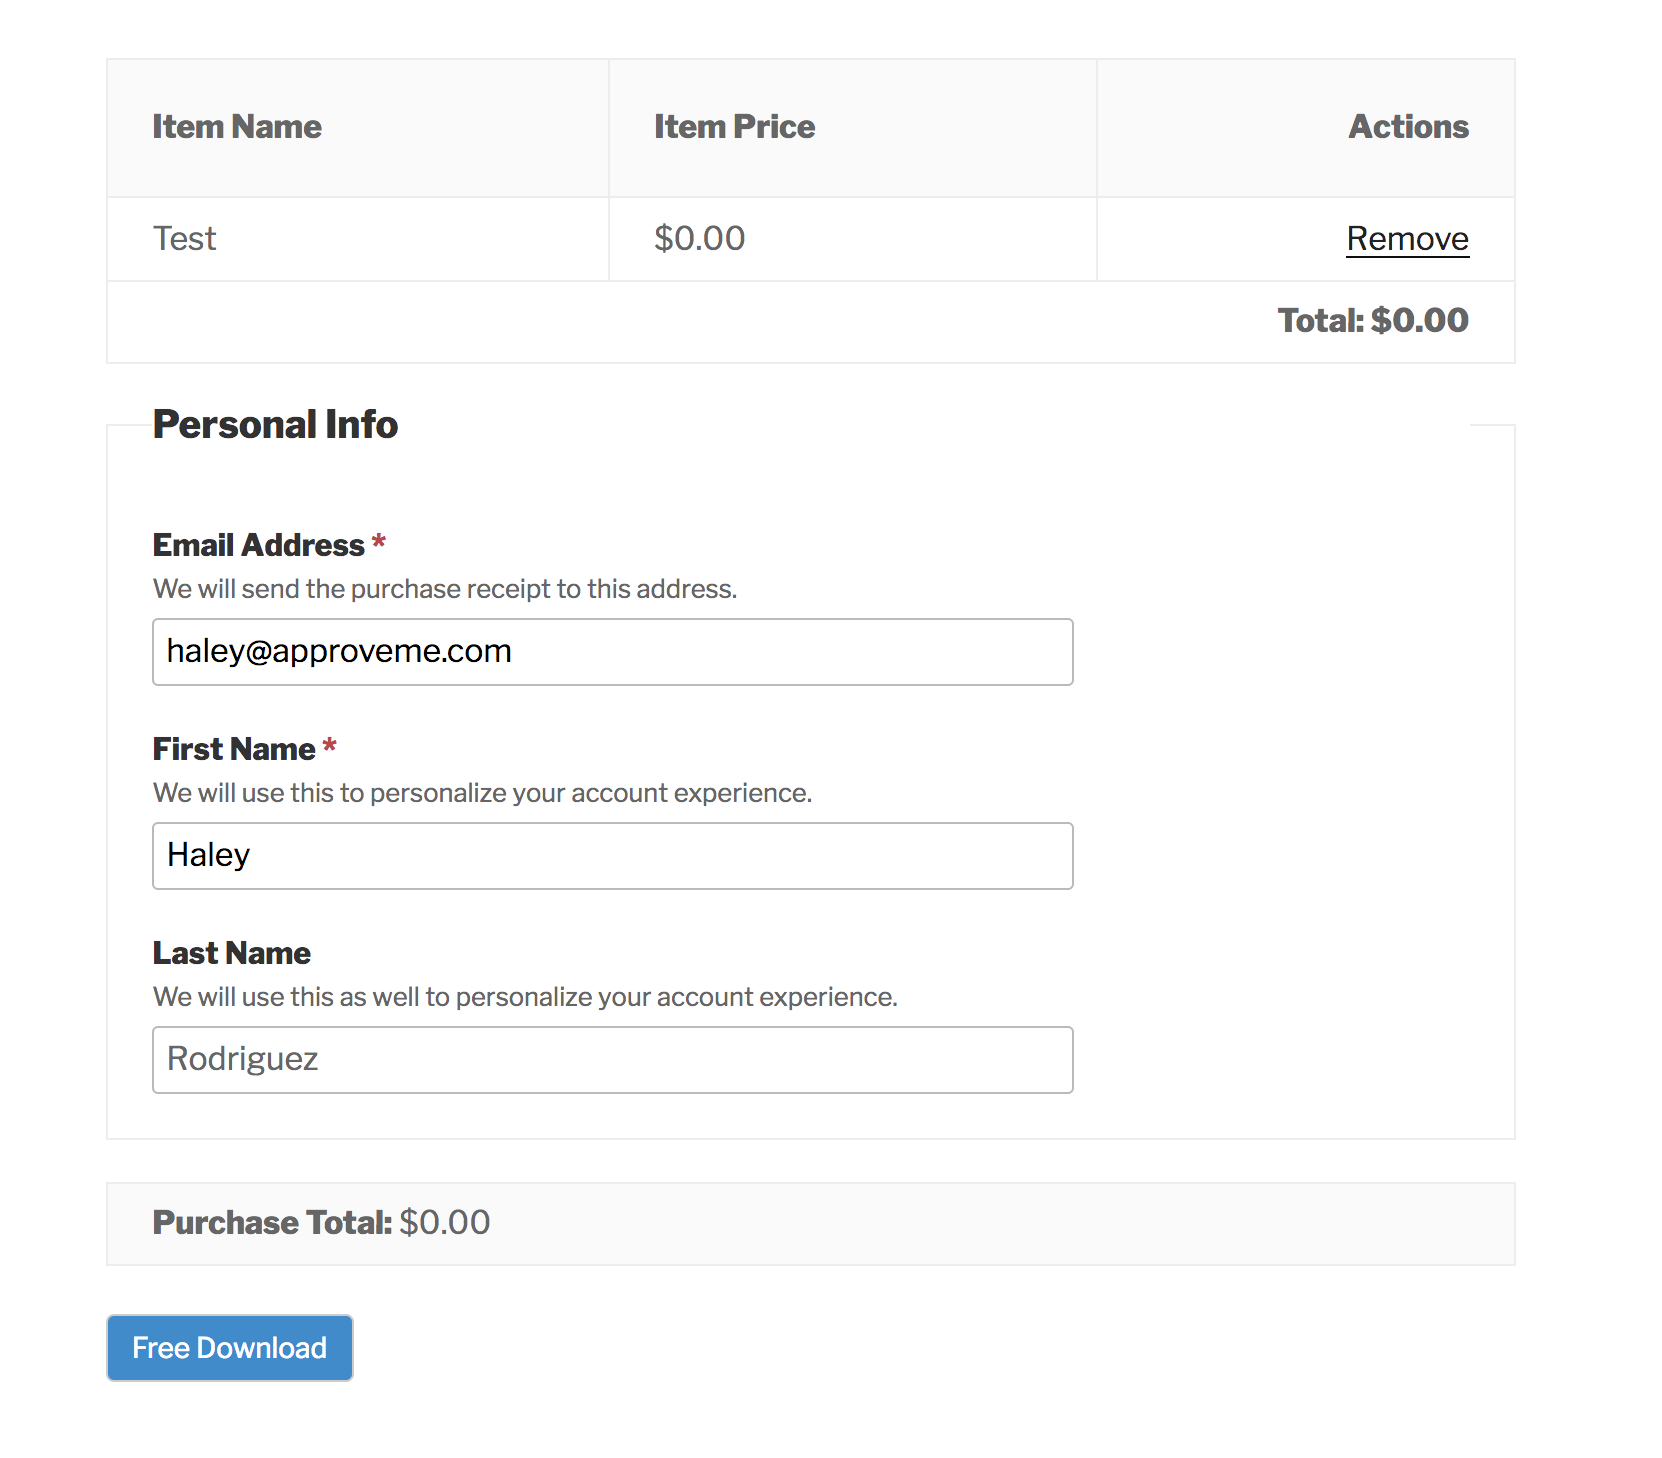
To test, visit your store and go through checkout just as a customer would.
Note: The EDD + E-Signature add-on offers two options - "Redirect to E-Sign After Checkout" and "Redirect to E-Sign Before Checkout". For shortcodes to populate data from checkout into your document, select "Redirect to E-Sign After Checkout".
If you’re on version 1.9.4.1 or earlier, we recommend updating to the latest version. If updating isn’t possible right now, follow the steps below. 👇
Step 1. Activate required plugins
- Install and activate Easy Digital Downloads
- Visit E-Signature > Add-ons > Integrations, find Easy Digital Downloads > Install > Activate.
Step 2. Insert desired fields
- Edit your stand alone document
- Select the signer input field icon (pencil icon) at the top right of the toolbar, and select Insert EDD Details
- Select your desired EDD shortcode.

Shortcodes will not render when viewing the document in editing mode. They populate with EDD checkout information when the signer reaches the document.

Step 3. Choose a Global or Product Agreement to trigger the document
Product Agreement
A Product Agreement is assigned to a specific product. Whenever that product is purchased, the customer is required to sign the document.
To set up a Product Agreement:
- Visit Easy Digital Downloads and find your desired download.
- Select Edit, locate E-Signature option on the bottom right.
- Choose your signing logic, select your document, and save your settings.
Global Agreement
A Global Agreement triggers once per checkout, regardless of which products are purchased.
To set up a Global Agreement:
- Visit EDD > Settings > Misc > E-Signature options.
- Choose your signing logic, select your document, and save your settings.
Step 4. Save your settings and test
To test, visit your store and go through checkout just as a customer would.
Note: The EDD + E-Signature add-on offers two options - "Redirect to E-Sign After Checkout" and "Redirect to E-Sign Before Checkout". For shortcodes to populate data from checkout into your document, select "Redirect to E-Sign After Checkout".