Import / Export Tool
If you’re on version 1.9.4.1 or earlier, this feature is available under E-Signature (in the left sidebar) > System Status > Tools. However, we recommend updating to the latest version and using a migration plugin instead. If updating isn’t possible right now, follow the steps below. 👇
Our Import/Export tool is a feature that should be used as an internal backup tool only, rather than a migration tool.
If you are looking to migrate E-Signature to a new site that has never ran this plugin before, I would recommend using a migration plugin like this one: All-in-One-WP-Migration!
If you choose to move the plugins over to your new site with this plugin, keep in mind that your previously signed documents will still contain your old site’s URL. To make sure your future signed documents have the correct URL after you migrate, you should open each of your stand alone documents in editing mode and re-save them. This will reset the URL on the document, giving it the new URL.
Sometimes you’ll want to perform a manual migration of only your E-Signature database tables and settings (rather than your whole site). If you want to move forward with a manual migration, here are some steps you can follow.
Export/Import E-Signature Database table using phpmyadmin tool
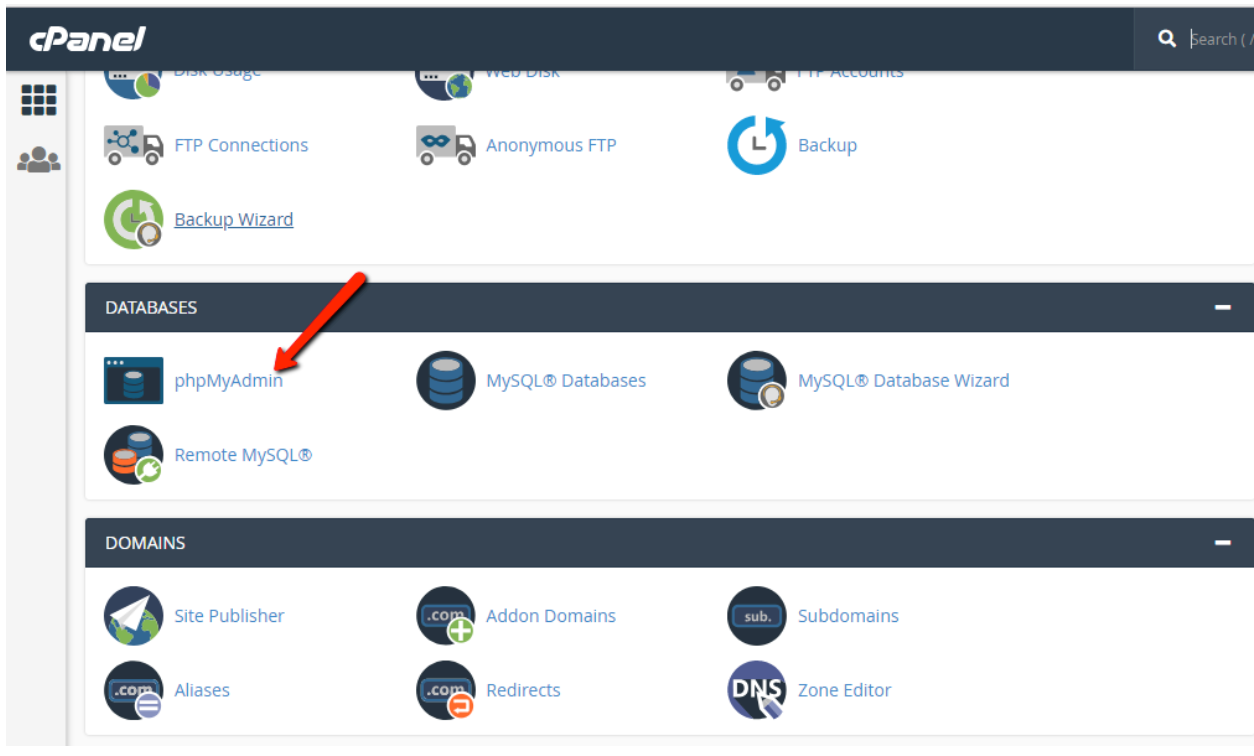
1. Log in to your cpanel and click on phpmyadmin. (The cpanel is the control panel of your website. It is provided by your web-host.)

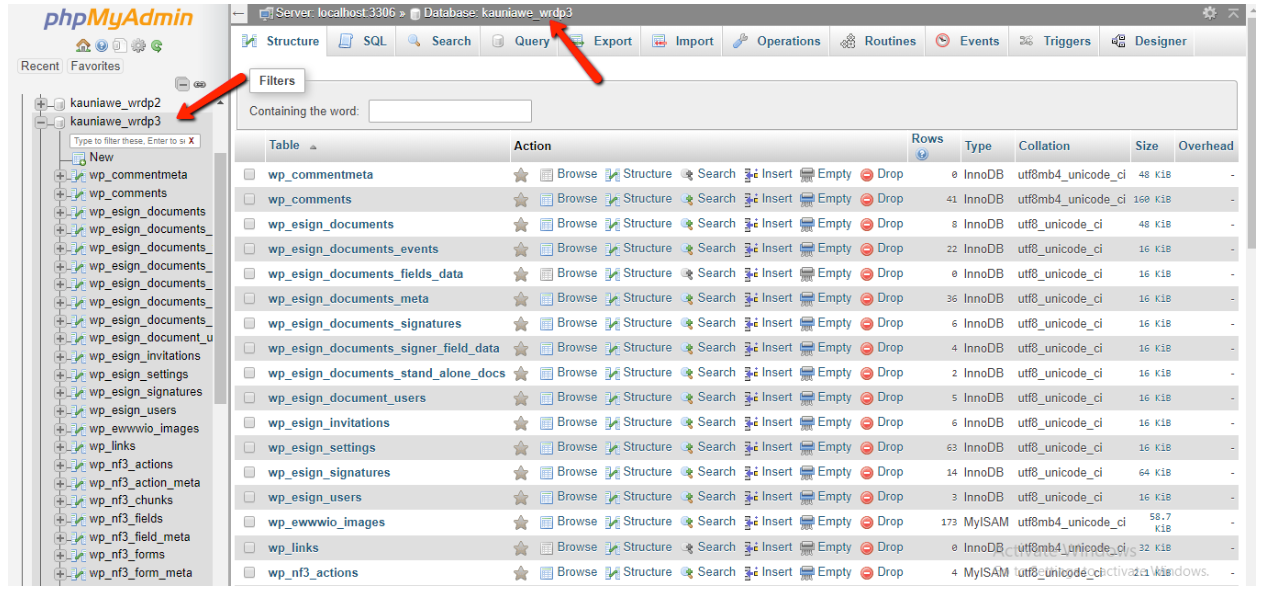
2. Select your database name from phpmyadmin panel.
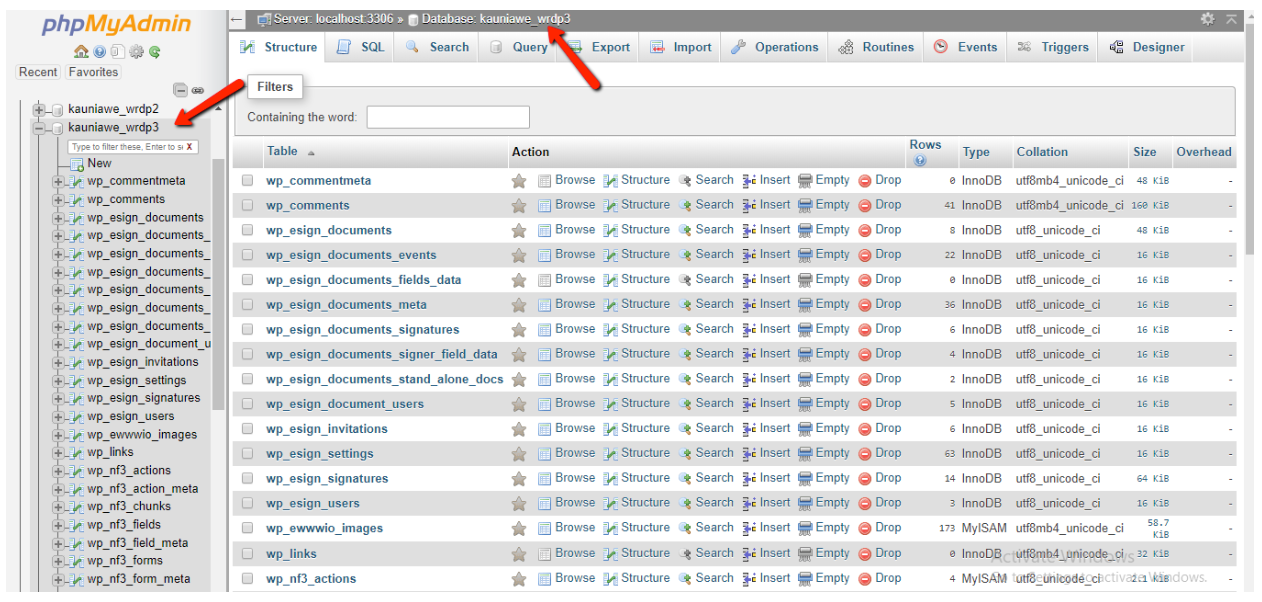
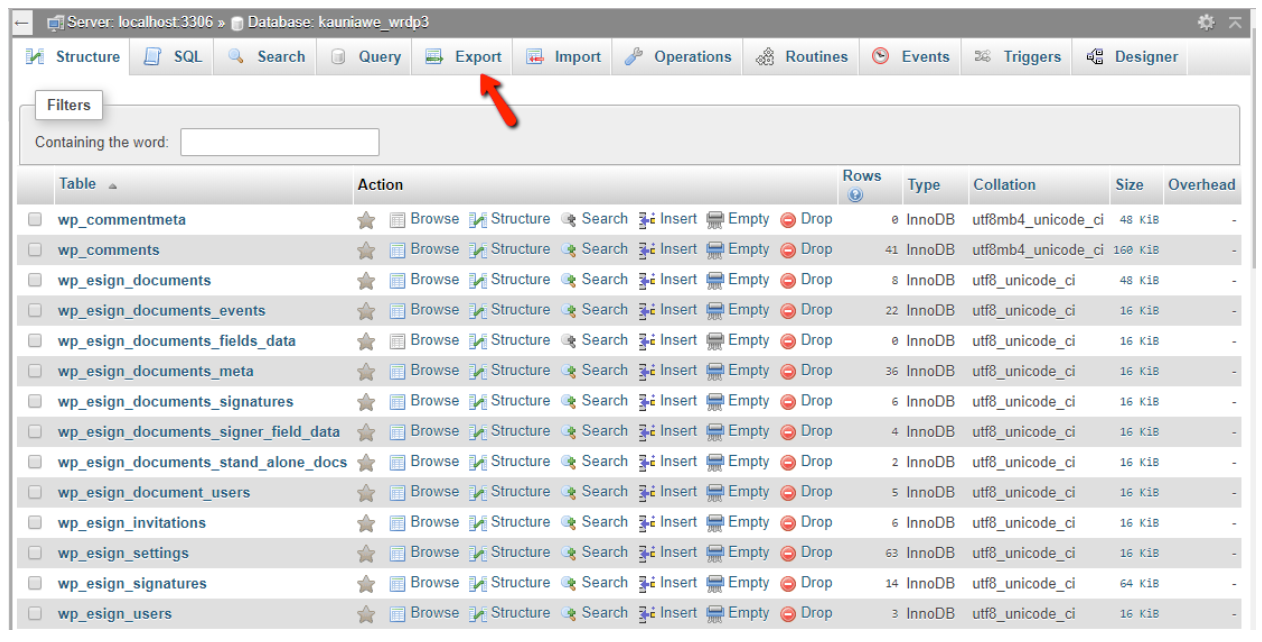
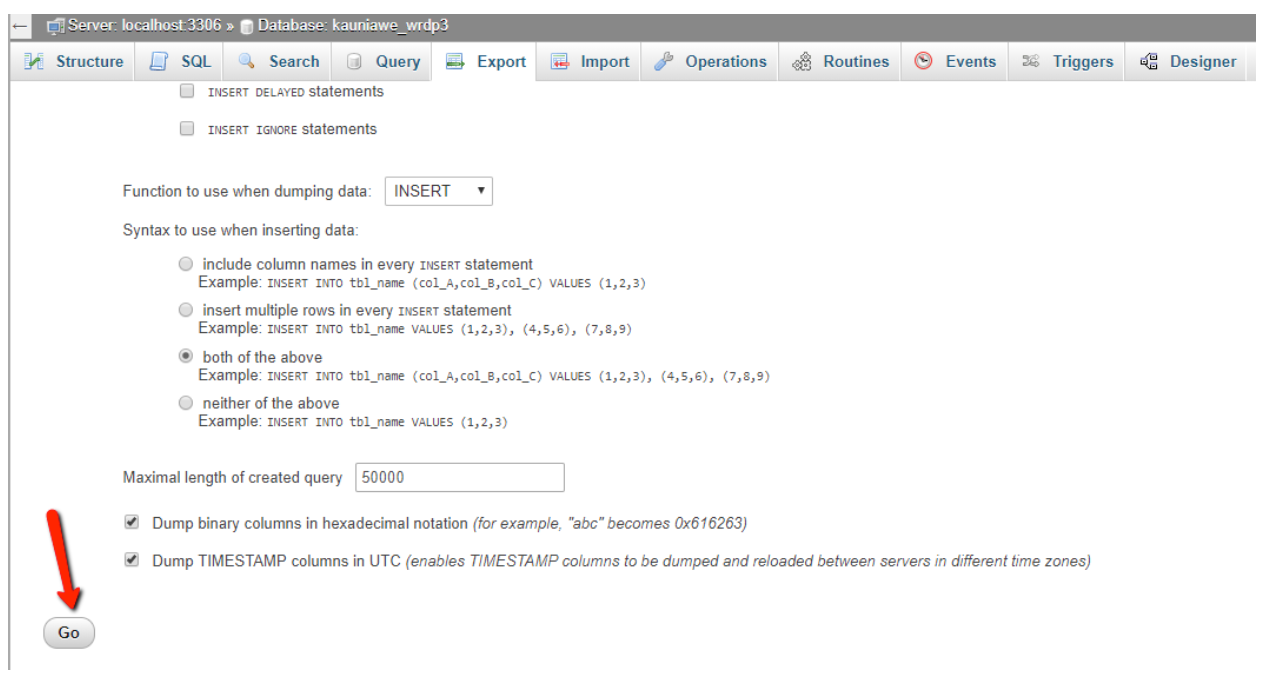
3. Select EXPORT from your selected db panel
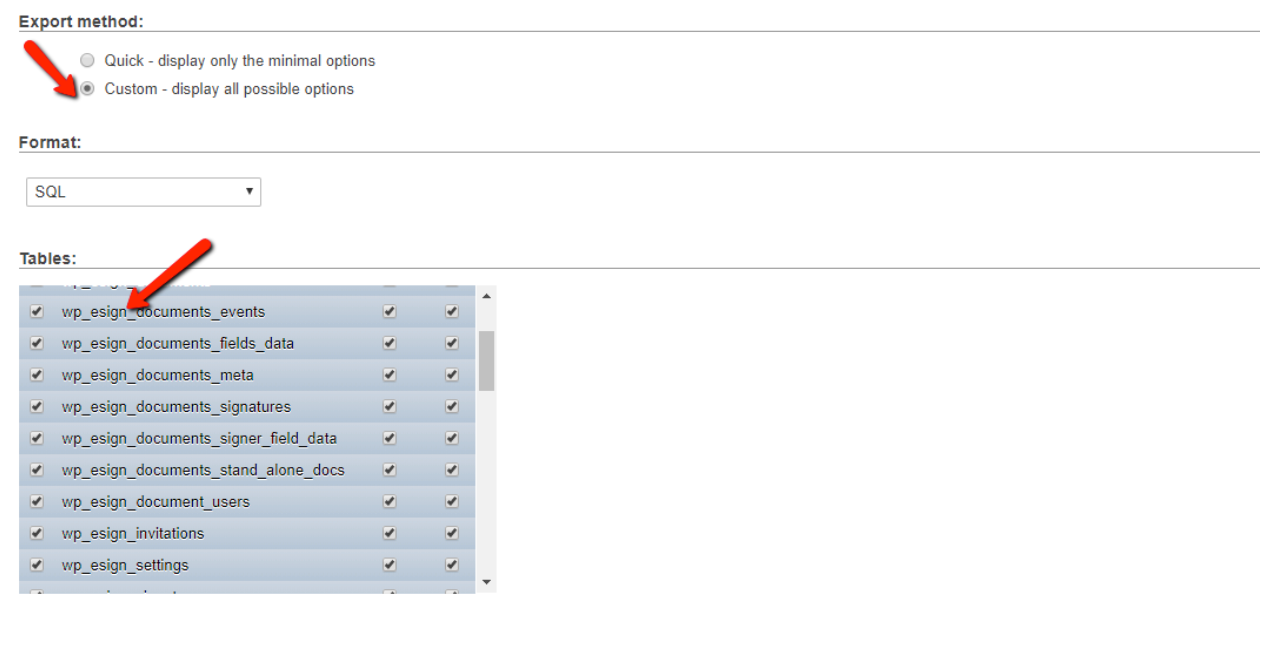
4. Check the Custom- display all possible options and check the tables which have sign prefix.
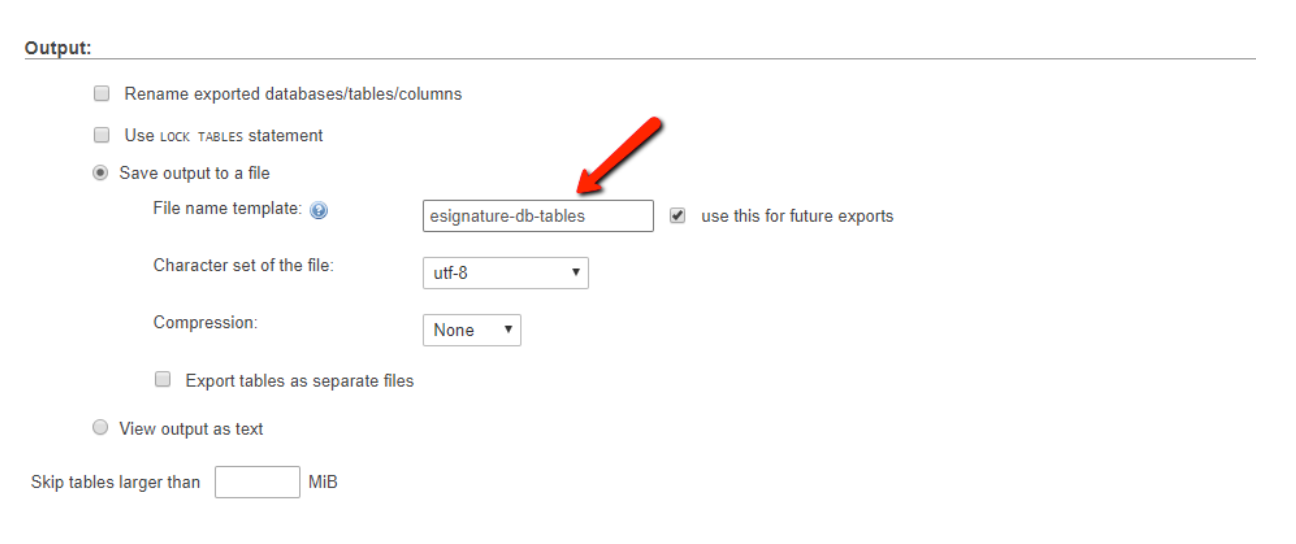
5. You can select the export formats from the screen above and you can change the output file name as well. (By default the output will have the database name.)
6. Select the GO button to export your E-Signature db tables and data.
Your e-signature database tables will be exported into your local computer with the default or desired given name.
Import E-Signature database tables using Phpmyadmin tool
To import an existing E-Signature-exported database table file into your hosting database, you’ll need to use your phpmyadmin tool and follow the steps below.
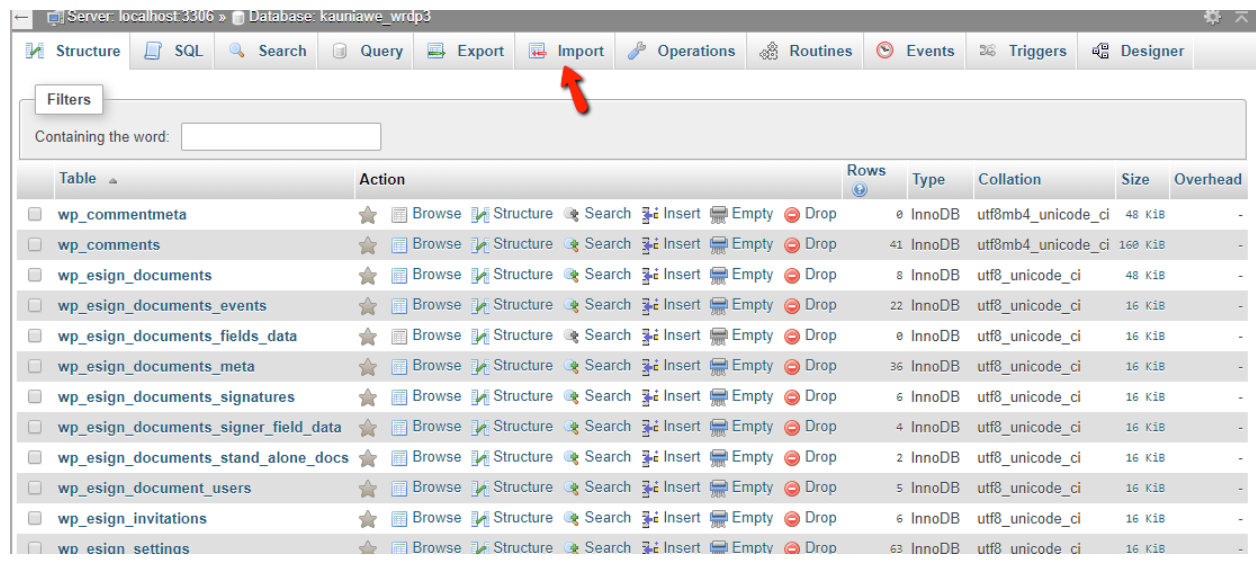
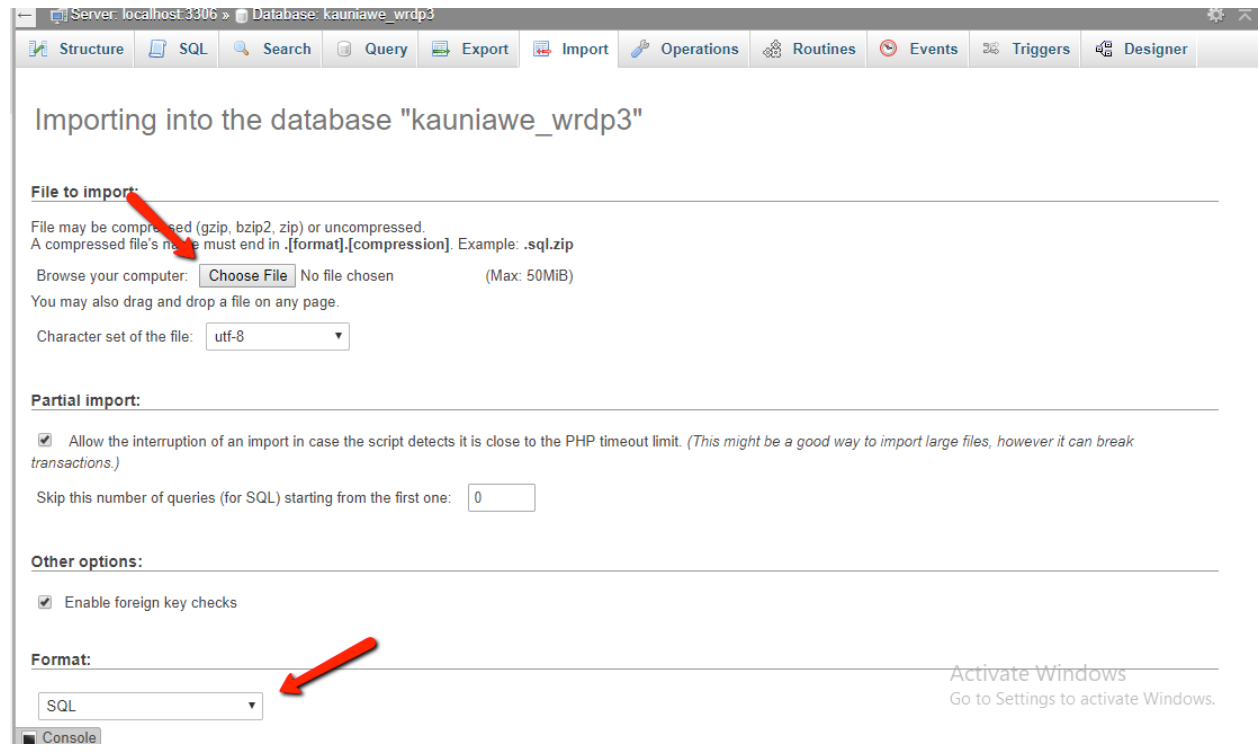
1. Log in to your cpanel account and select phpmyadmin.
2. Select your database.
3. Select the import tab from your database panel.
4. Choose your exported file and file format in import option tab.
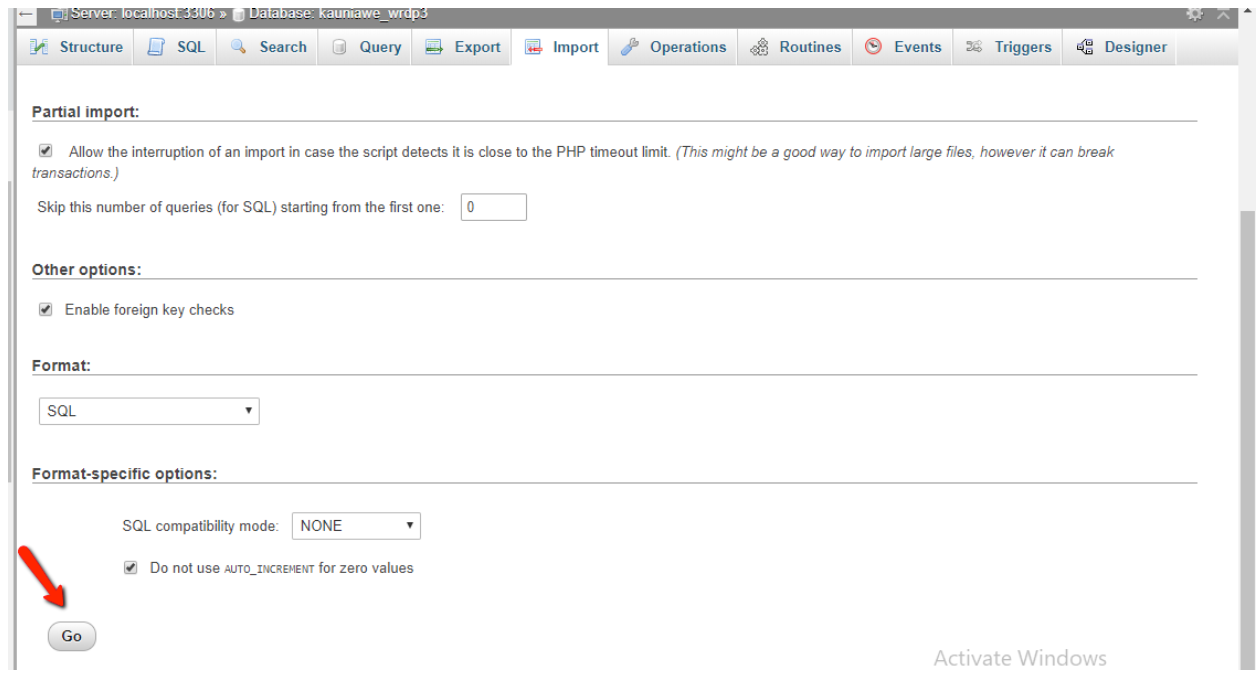
5. Select GO to finish your database/tables import.
If you have any additional questions about our Import / Export tool, click here to submit a support ticket! We’re happy to help!