WP Digital eSignature - ActiveCampaign Email Automation Add-On
The ActiveCampaign Email Automation add-on lets you assign a tag or auto-subscribe a signer to one or more ActiveCampaign email marketing lists.
For example, if you require a signature for a request for a proposal, you can create emails in ActiveCampaign and automatically subscribe signers to that list. You can also apply a tag like "Signed NDA Document" to their customer profile.
You can set up email messages to send immediately, after a new user subscribes to your mailing list, or after a set period of time. This lets you build full email sequences that run automatically.
If you’re on version 1.9.4.1 or earlier, we recommend updating to the latest version. If updating isn’t possible right now, you can find alternative instructions at the bottom section of this page.
How to configure the ActiveCampaign Add-On

Visit E-Signature > Add-ons, locate ActiveCampaign > Activate.
After installing the ActiveCampaign add-on, retrieve your API details from ActiveCampaign.
Log in to your account at ActiveCampaign and navigate to the My Settings tab. Select the Developer tab to get your API URL and API Key.

Once you have a valid API key and API URL, go to E-Signature > Add-ons > Third Party Integrations, and select Active Campaign. Enter your ActiveCampaign API URL and API key and click Save Changes.

With ActiveCampaign set up, you can auto-add signers to email lists or apply custom tags to use in email automation sequences.
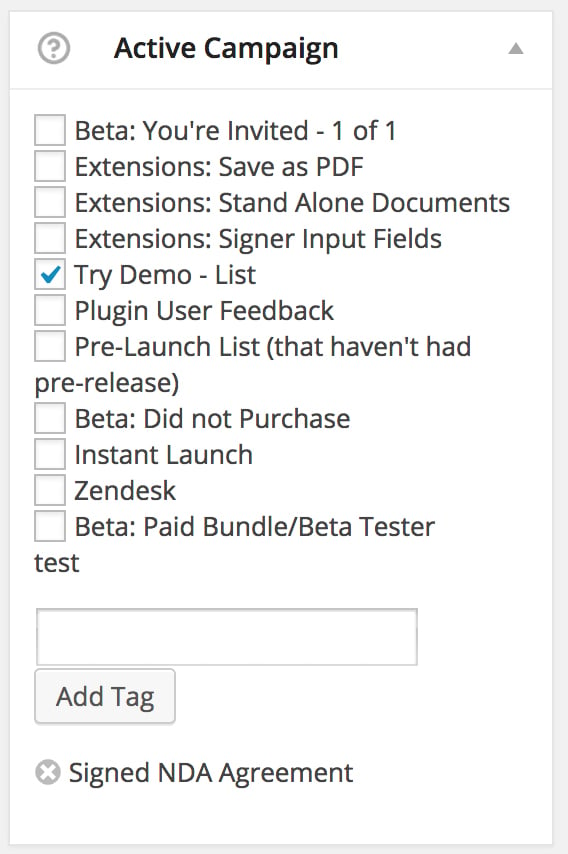
After saving your settings, your ActiveCampaign email lists and tags appear at the bottom of each document's Settings.
If you’re on version 1.9.4.1 or earlier, we recommend updating to the latest version. If updating isn’t possible right now, follow the steps below. 👇
How to configure the ActiveCampaign Add-On

After installing the ActiveCampaign add-on, retrieve your API details from ActiveCampaign.
Next, log in to your account at ActiveCampaign and navigate to the My Settings tab.

Now select the tab that says Developer to get your API URL and API Key.
Once you have a valid API key and API URL, go to E-Signature > Settings > Customization in your WordPress dashboard. Scroll down, enter your ActiveCampaign API URL and API key, then click "Save Settings".

After saving your settings, your ActiveCampaign email list appears in the right column sidebar of any document you add in WP E-Signature.
With ActiveCampaign set up, you can auto-add signers to email lists or apply custom tags to use in email automation sequences.