How to Set Up Two Layer Authentication for Your Online Contracts
With our Two-Layer Authentication add-on, you can easily add an extra layer of security to your basic documents. Follow these easy steps to set up this workflow.
If you’re using version 2.0, follow the instructions at the top of this page. 🥳
If you’re on version 1.9.4.1 or earlier, we recommend updating to the latest version. If updating isn’t possible right now, you can find alternative instructions at the bottom section of this page.
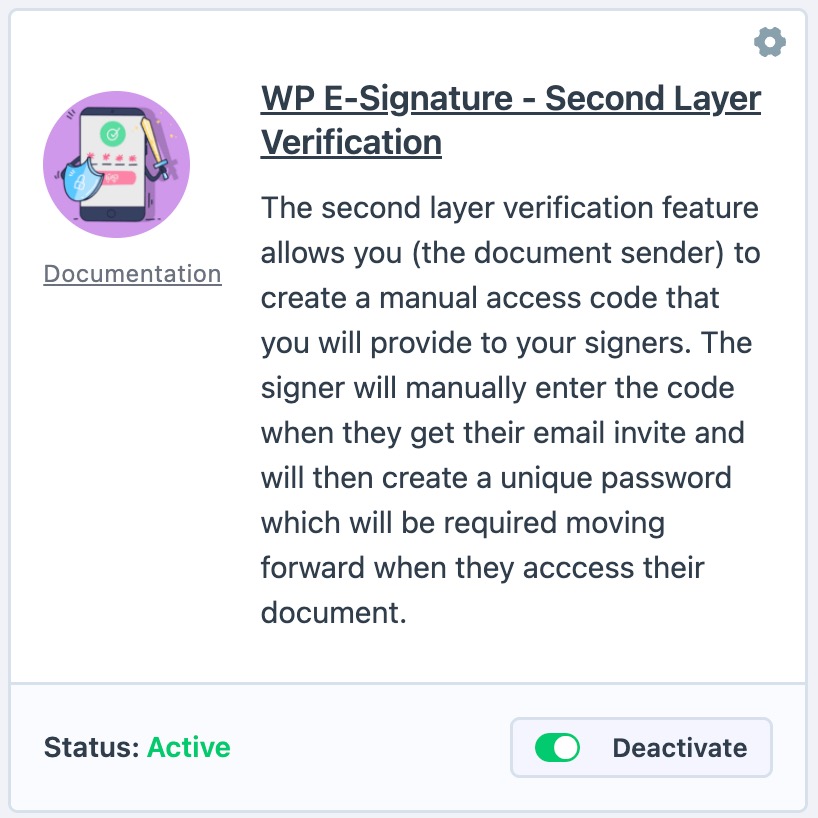
To get started, visit E-Signature > Add-ons, find Second Layer Verification, and enable it.
Document sender steps
- Visit E-Signature > Add New Document > Basic Document, and add the name and email of your signer.
- On the recipient screen, toggle on Enable Access Codes
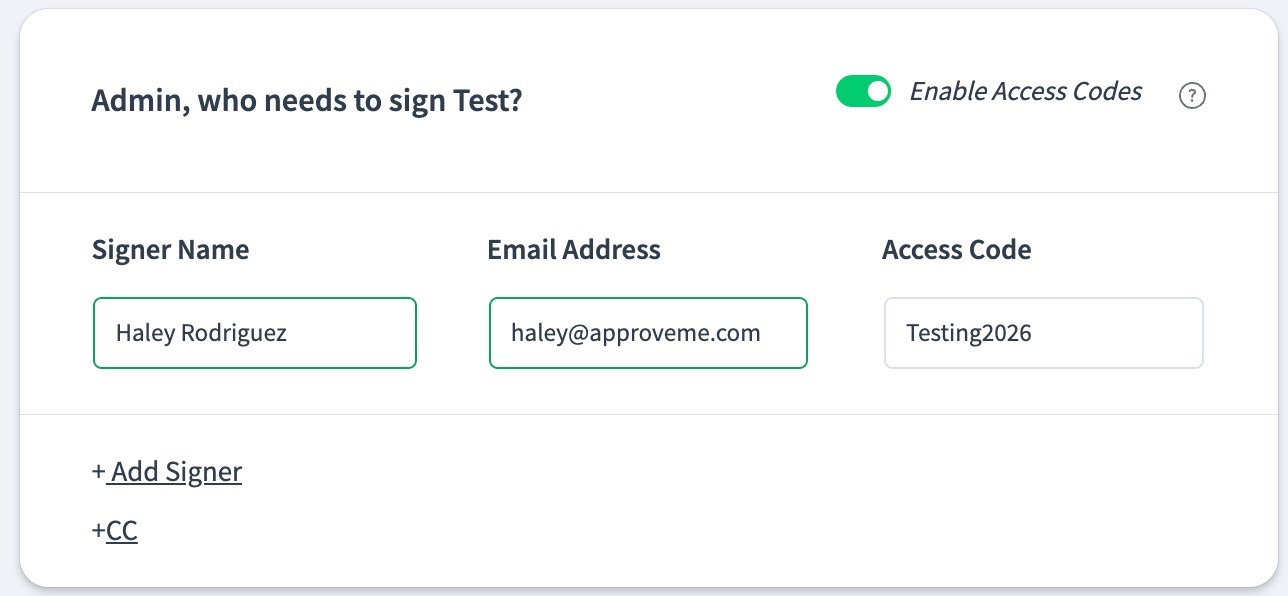
- Create your access code and add it to the Access Code field.
An access code is a code you create as the document sender and share with your signer verbally or by text. The signer still receives an email invitation to sign the document, but they cannot access it without entering the code.
This feature adds an extra layer of security and signer verification, so we strongly recommend not sending the access code by email. Emailing the code defeats its purpose — if a signer's email account were compromised, the intruder still couldn't access the document without the access code, and after signing, without the password the signer sets up.
After you finish setting up your online contract and you send the document out for signature, your signer will receive an email invitation similar to the one below.
Signer Steps
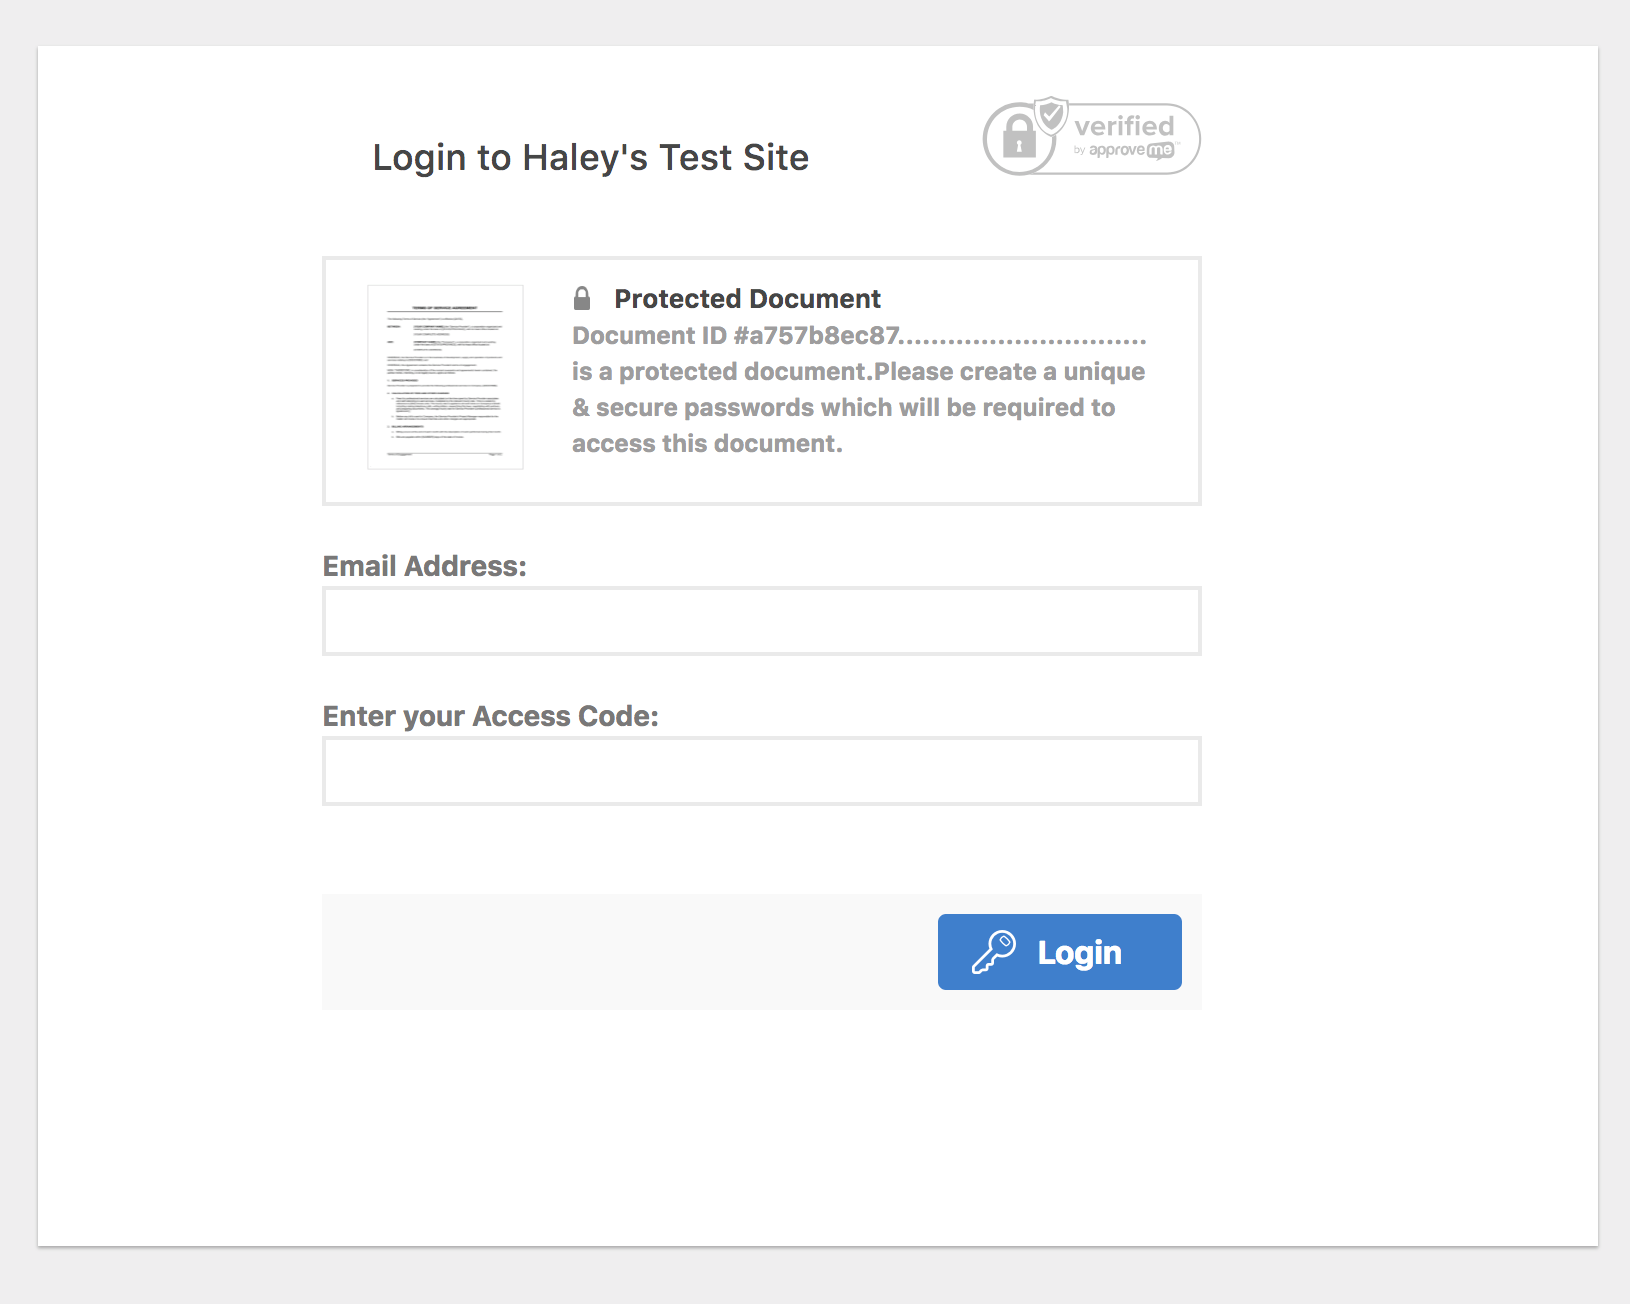
- Next, your signer will enter the Access Code to view and sign your E-Signature document.
When the signer clicks the "Review & Sign" link in their email invitation, they are taken to a page where they must first enter their email address and the access code you provided.
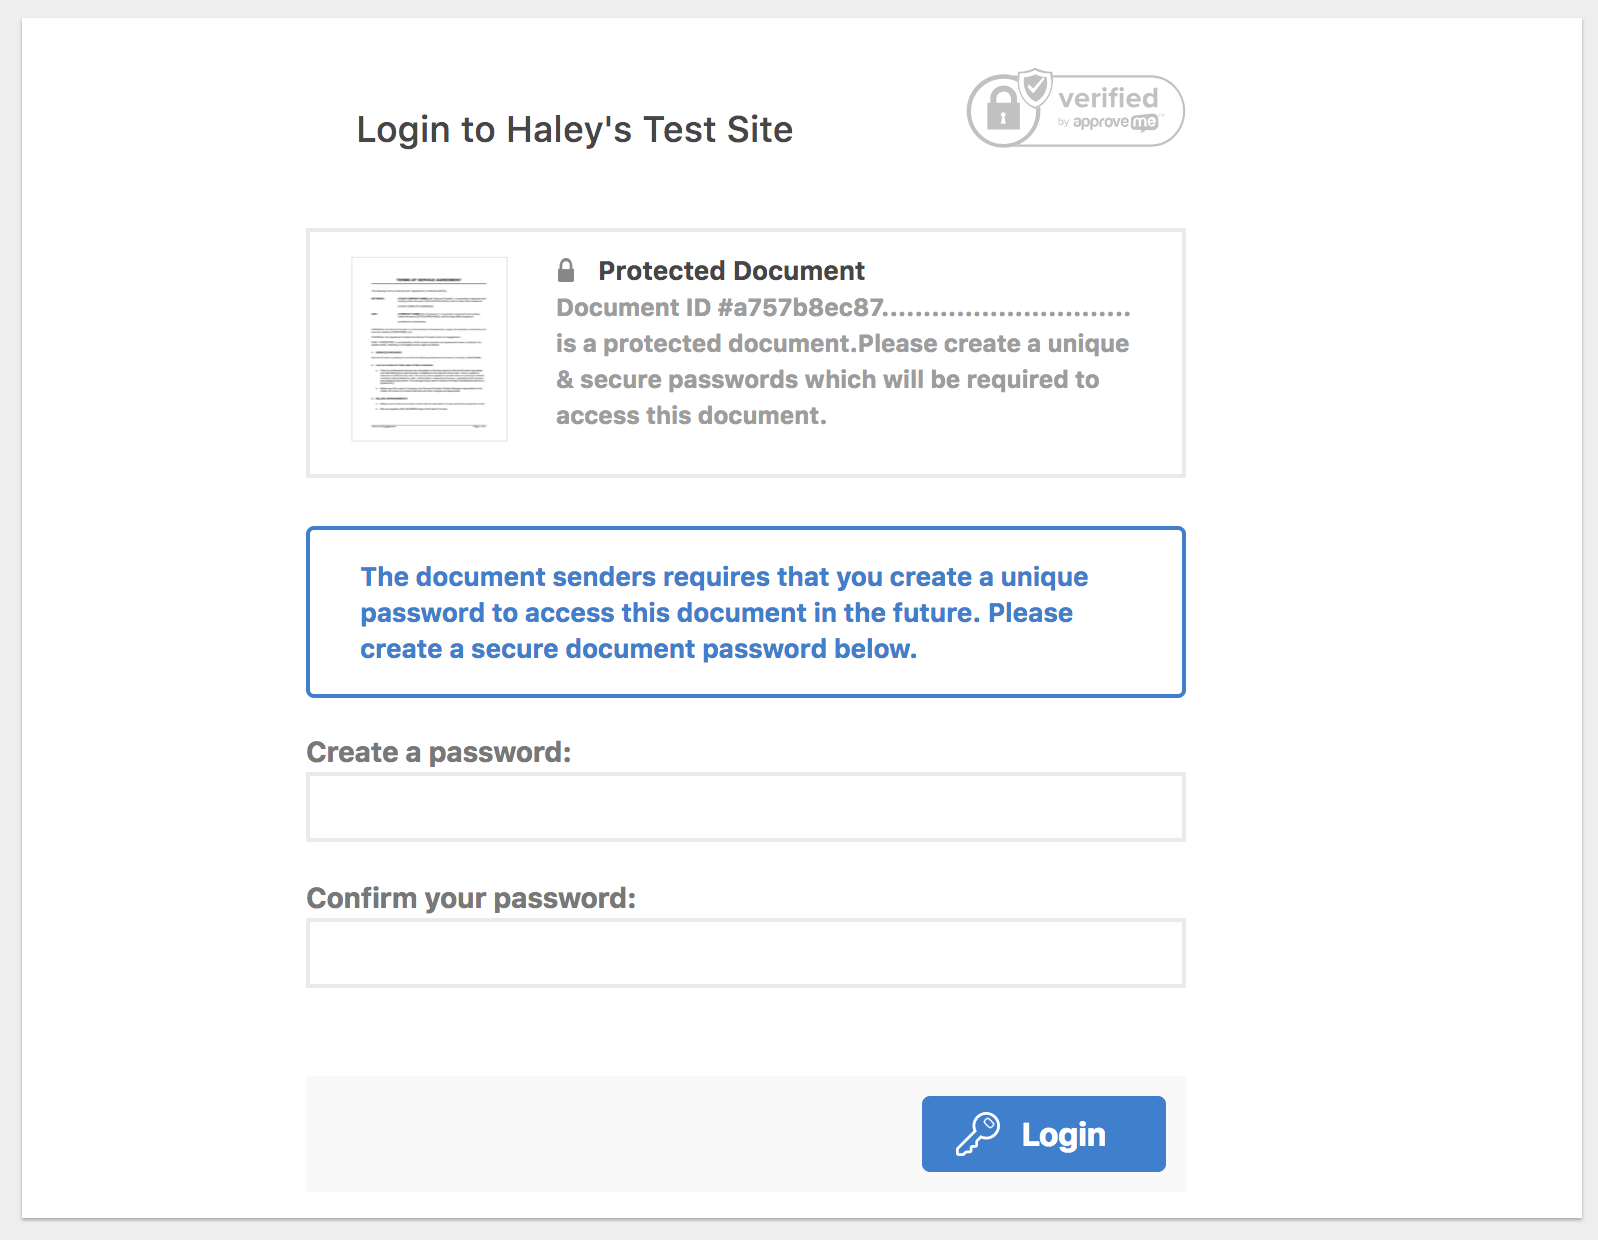
- Create and confirm a new password to access the document in the future.
After entering their email and the correct access code, the signer is prompted to create a password for the contract. This ensures that only users who have been granted access can open the document.
- Review Document and Sign
The signer is then taken directly to the contract to review it, fill in any required information, and sign. After signing, they will need to enter their password to view the document again in the future.
To read more about this exciting add-on, you can check out this awesome article!
If you’re on version 1.9.4.1 or earlier, we recommend updating to the latest version. If updating isn’t possible right now, follow the steps below. 👇
To get started, visit E-Signature > Add-ons, find Second Layer Verification, and enable it.

Document sender steps
- Visit E-Signature > Add New Document > Basic Document, and add the name and email of your signer.
- Select the key icon on the right of the email.

- Create your access code by selecting Access Code and typing in your desired text.
An access code is a code you create as the document sender and share with your signer verbally or by text. The signer still receives an email invitation to sign the document, but they cannot access it without entering the code.

This feature adds an extra layer of security and signer verification, so we strongly recommend not sending the access code by email. Emailing the code defeats its purpose — if a signer's email account were compromised, the intruder still couldn't access the document without the access code, and after signing, without the password the signer sets up.
After you finish setting up your online contract and you send the document out for signature, your signer will receive an email invitation similar to the one below.
Signer Steps
- Next, your signer will enter the Access Code to View and Sign your E-Signature document.
When the signer clicks the "REVIEW & SIGN" link in their email invitation, they are taken to a page where they must first enter their email address and the access code you provided.
- Create and confirm a new password to access the document in the future.
After entering their email and the correct access code, the signer is prompted to create a password for the contract. This ensures that only users who have been granted access can open the document.
- Review Document and Sign
The signer is then taken directly to the contract to review it, fill in any required information, and sign. After signing, they will need to enter their password to view the document again in the future.
To read more about this exciting add-on, you can check out this awesome article!