Install and Activate E-Signature Plugins and add-ons
How to Install WPESignature
- Download the plugin zip files by logging into your profile page here!
- Log in to your WordPress backend and select the plugins tab on the left menubar.
- Select add new > upload plugin > choose file
- Select one of the zip files you downloaded in step 1 > click install now > activate.
After the plugin is activated, you should be good to go! Repeat the steps as needed for additional plugins.

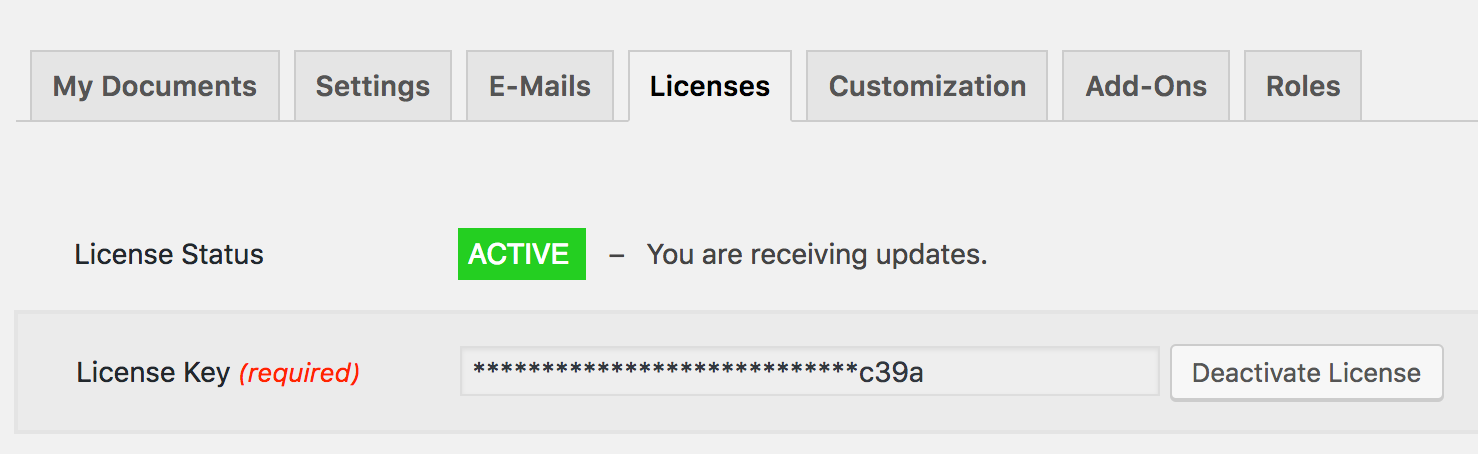
How to View and Activate your E-Signature License
- Log in to your ApproveMe profile page here!
- Hover over My Downloads > select billing > view licenses > select the image of the key.
- Select the license key that appears and copy it.
- Log in to your WordPress backend > E-Signature > settings > license tab.
- Paste in your license key > activate license key!
You can view our licensing and extension terms here!
You must have an active E-Signature license to download available E-Signature updates and access our amazing web-support! 🙂
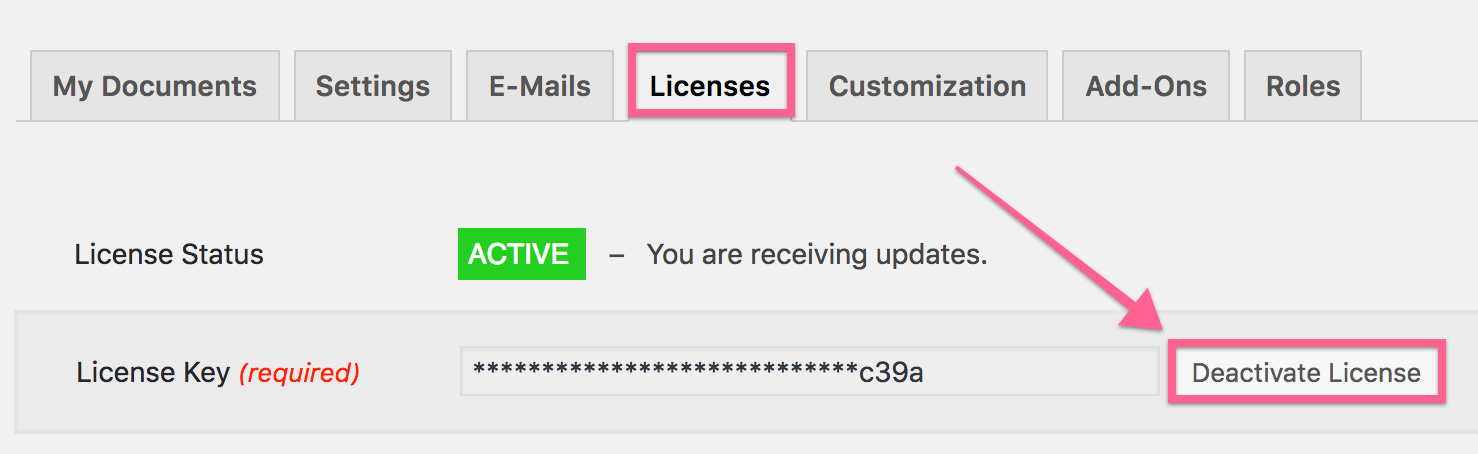
How to Deactivate Your License Key
If you need to deactivate your license key, you can simply visit E-Signature > settings > licenses > and select deactivate license.
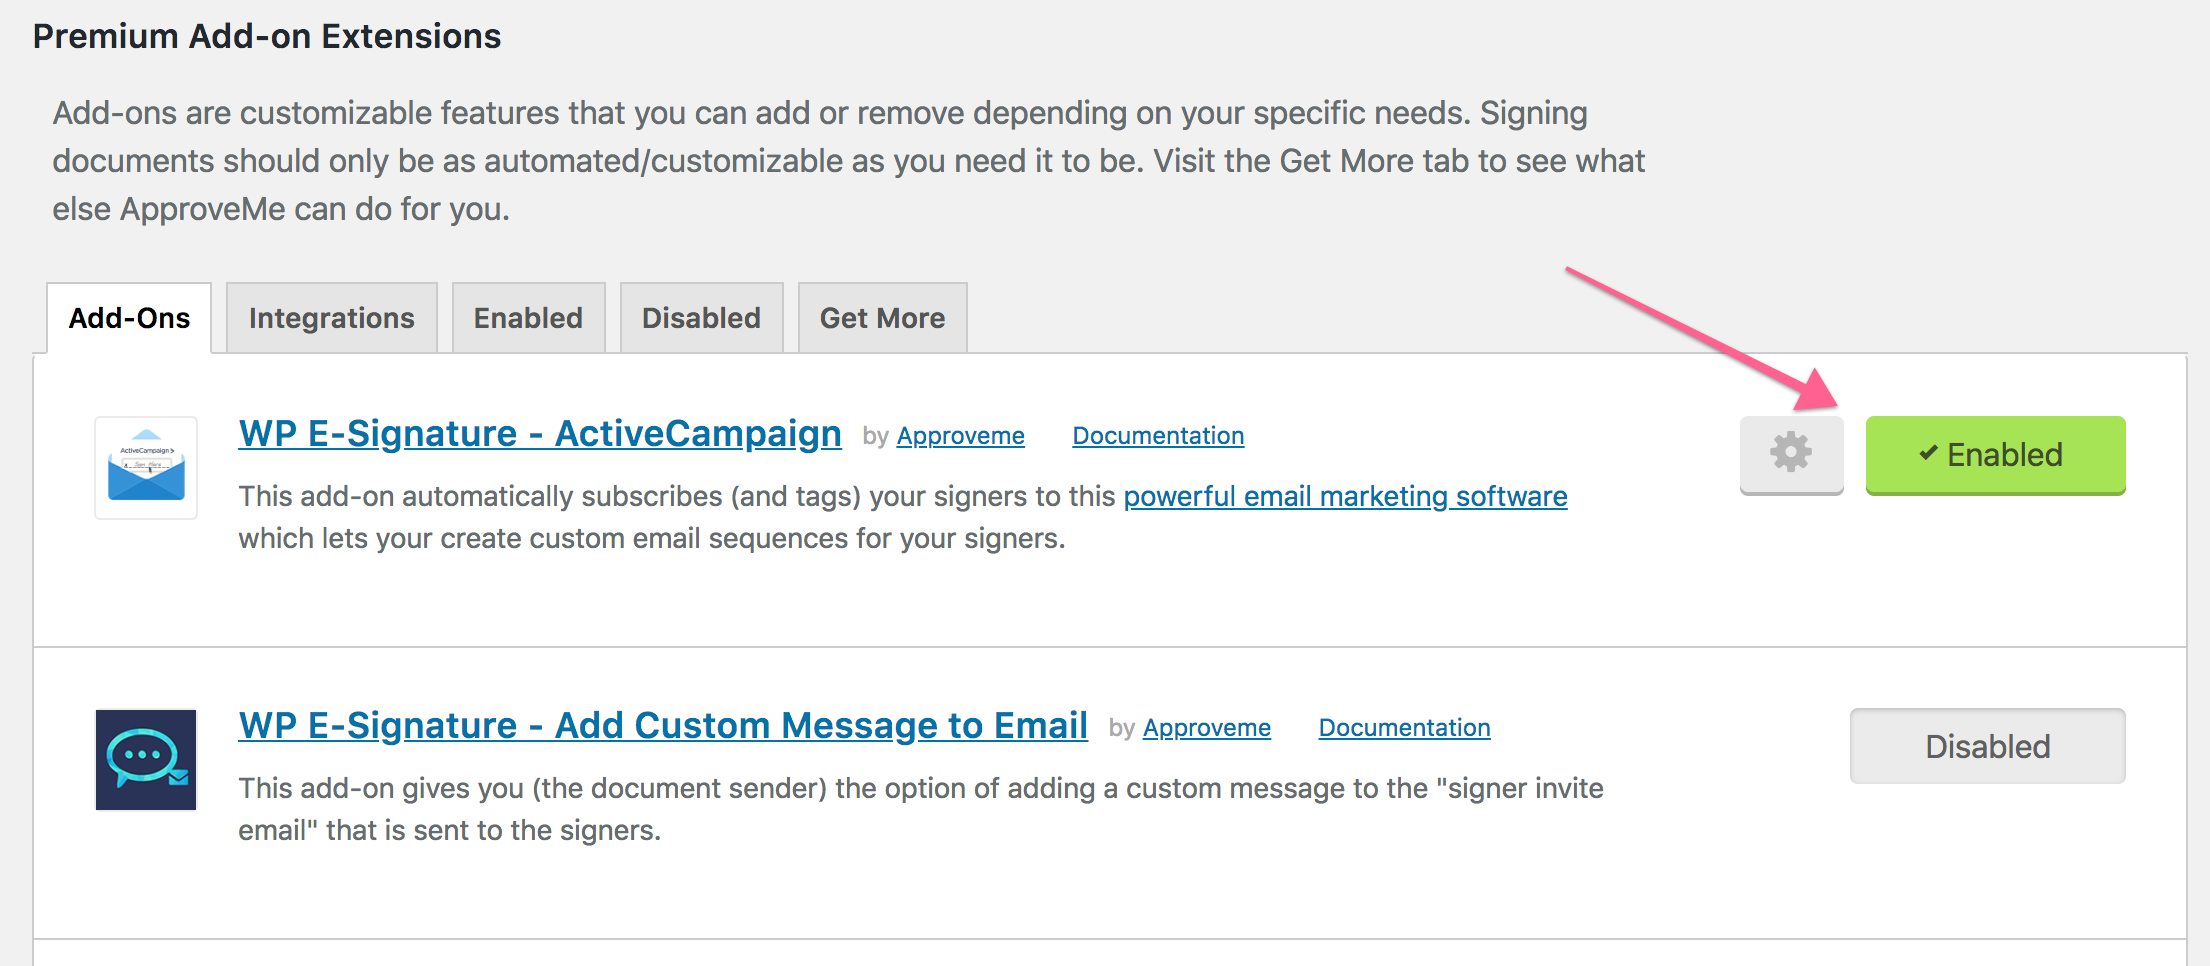
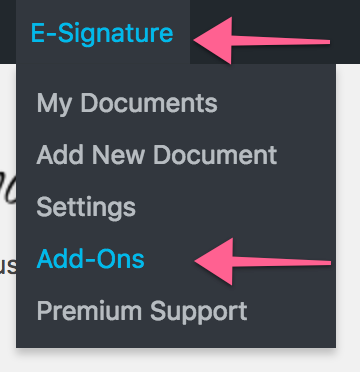
How to Enable Your Desired add-ons
Once your license has been activated, you can enable or disable your desired add-on features from the E-Signature -> add-ons tab.
Choose which add-ons you’d like to use for your E-Signature workflow and enable them from here!